
Quick Pickled Shallots (No-Cook Recipe)
Pickled Shallots Ready in 30 minutes | No stovetop required | Perfect make-ahead recipe
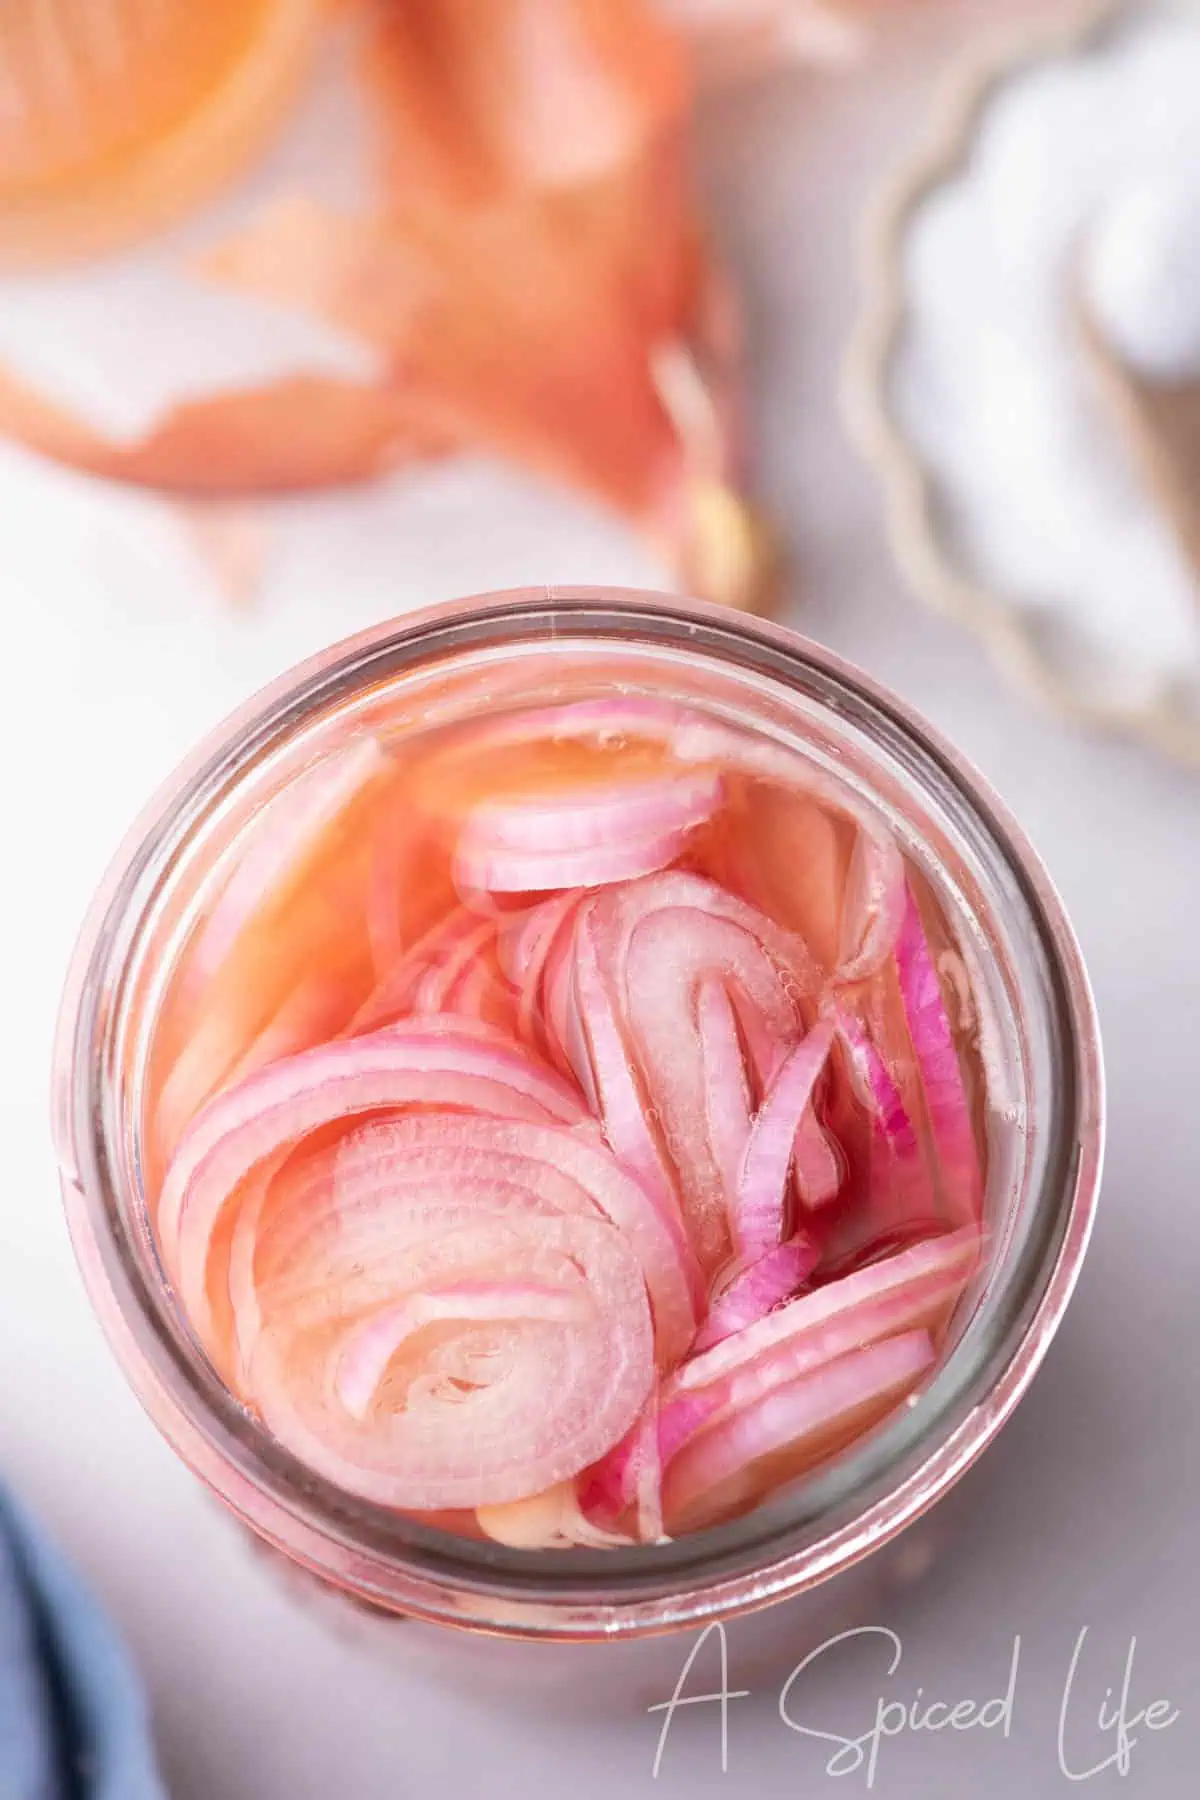
Quick pickled shallots will change the way you garnish your food. Bright, tangy, and incredibly versatile, they instantly elevate everything from burgers and lamb dishes to pork chops, salmon, sandwiches, or add them to salads. In fact, once you start using them, you’ll want to add them to everything.
Even better, this easy no-cook method keeps things simple; no stovetop, minimal ingredients, and fast results.
This recipe has been kitchen-tested to ensure consistent, reliable results.
How Do You Make Pickled Shallots?
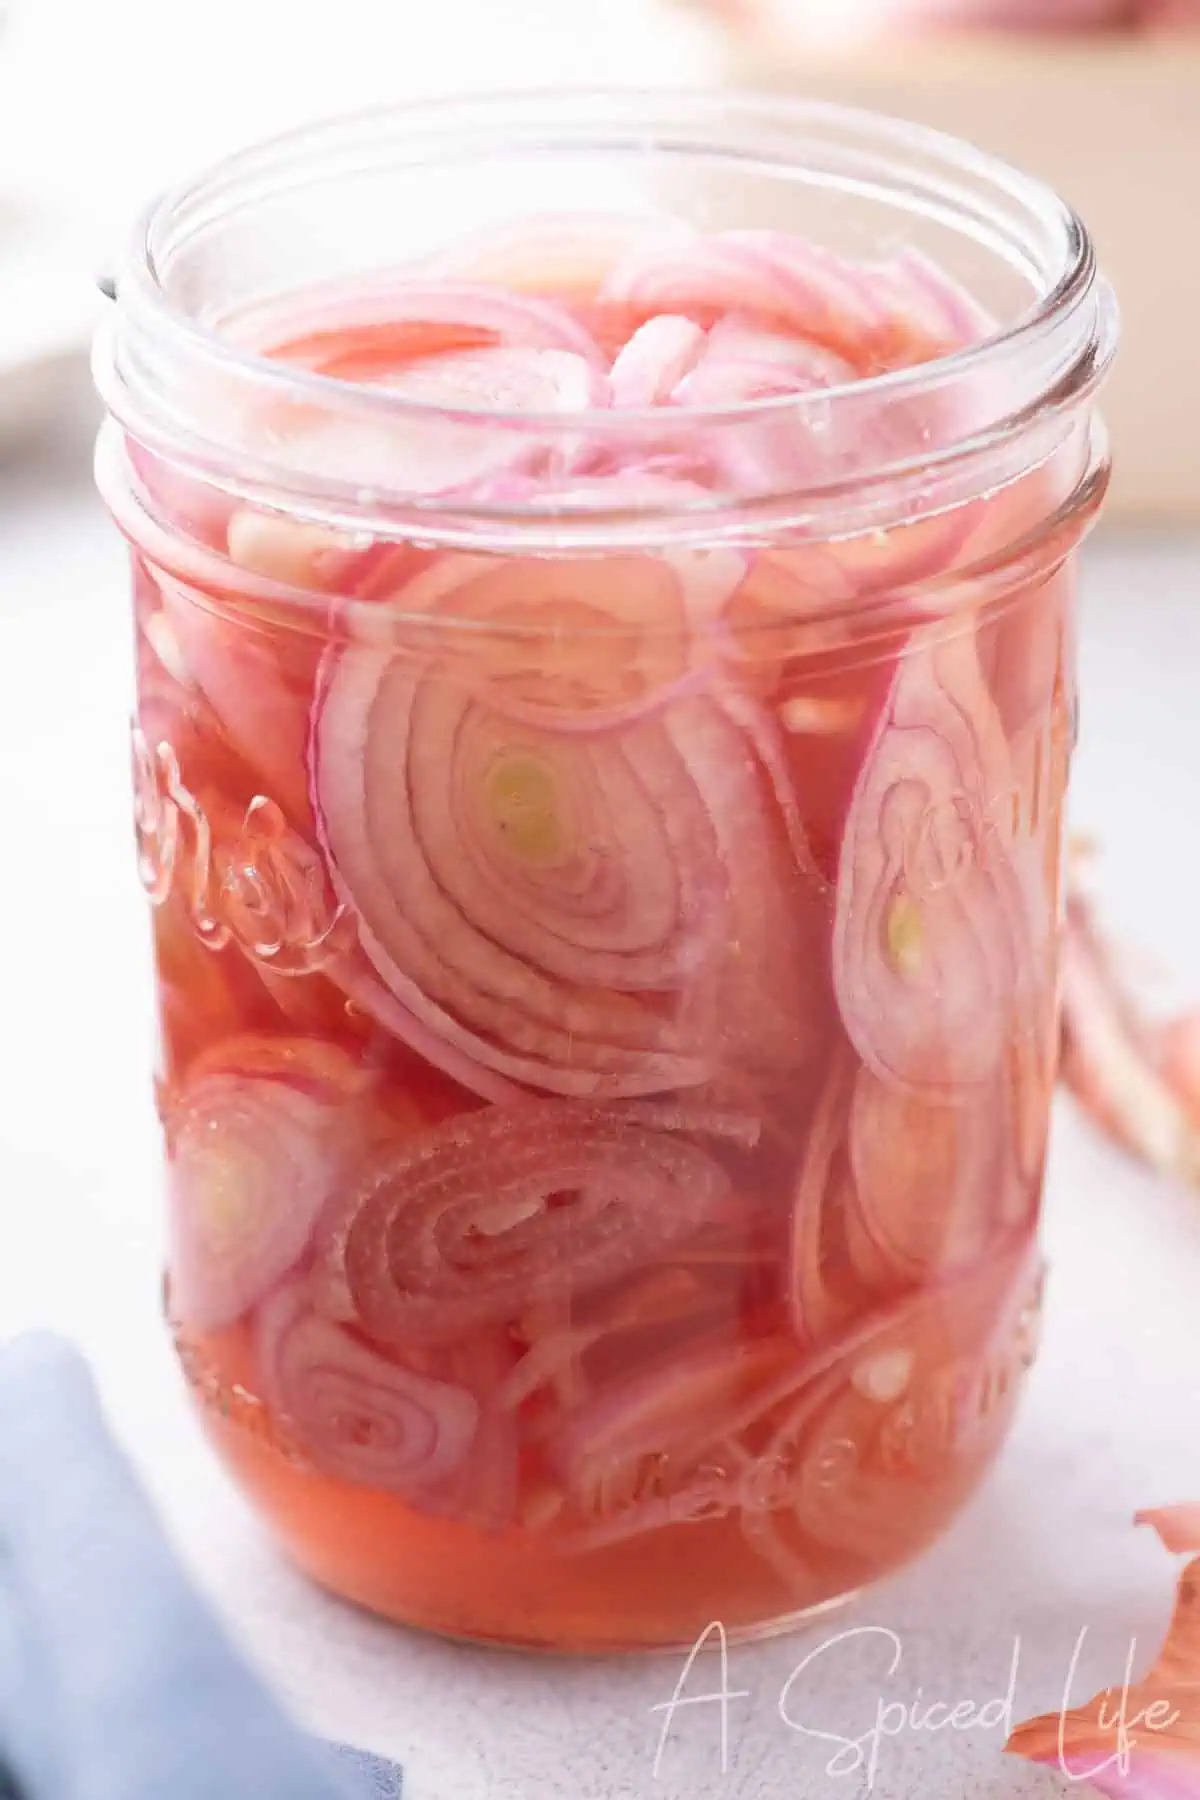
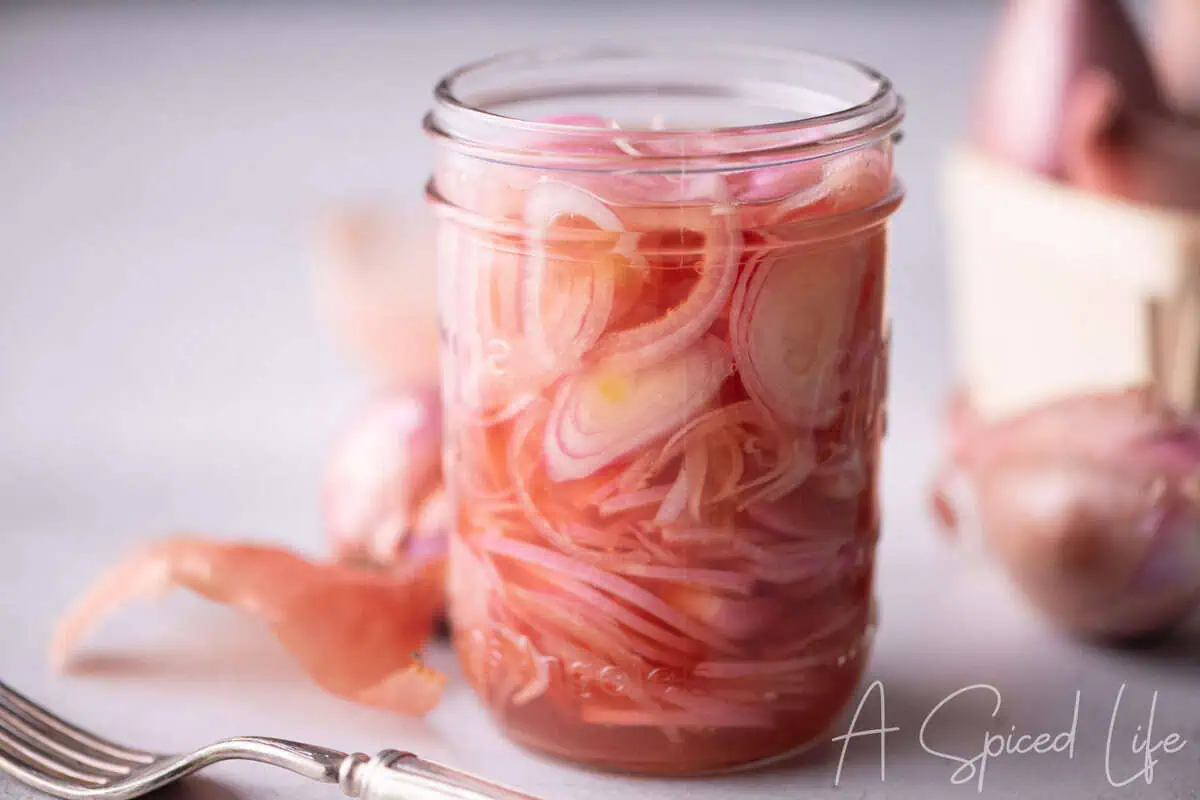
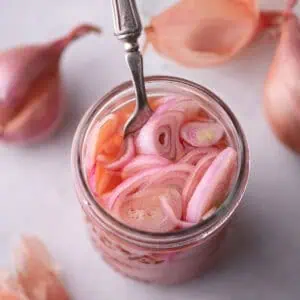
Making quick pickled shallots takes very little effort, with most of the time being inactive. Thinly sliced shallots are added to a vinegar-based brine with salt and sugar, then left to sit for 25 minutes, until soft and flavorful.
- Equipment needed: 2-cup capacity heatproof jar
Why You’ll Love This Pickled Shallots Recipe
- Bright, tangy flavor that balances rich dishes
- Only 5 minutes of hands on prep, the rest is inactive time.
- Made with simple pantry ingredients and involves minimal effort
- Easy to customize with different flavors and variations
- Makes a thoughtful (and delicious) housewarming gift
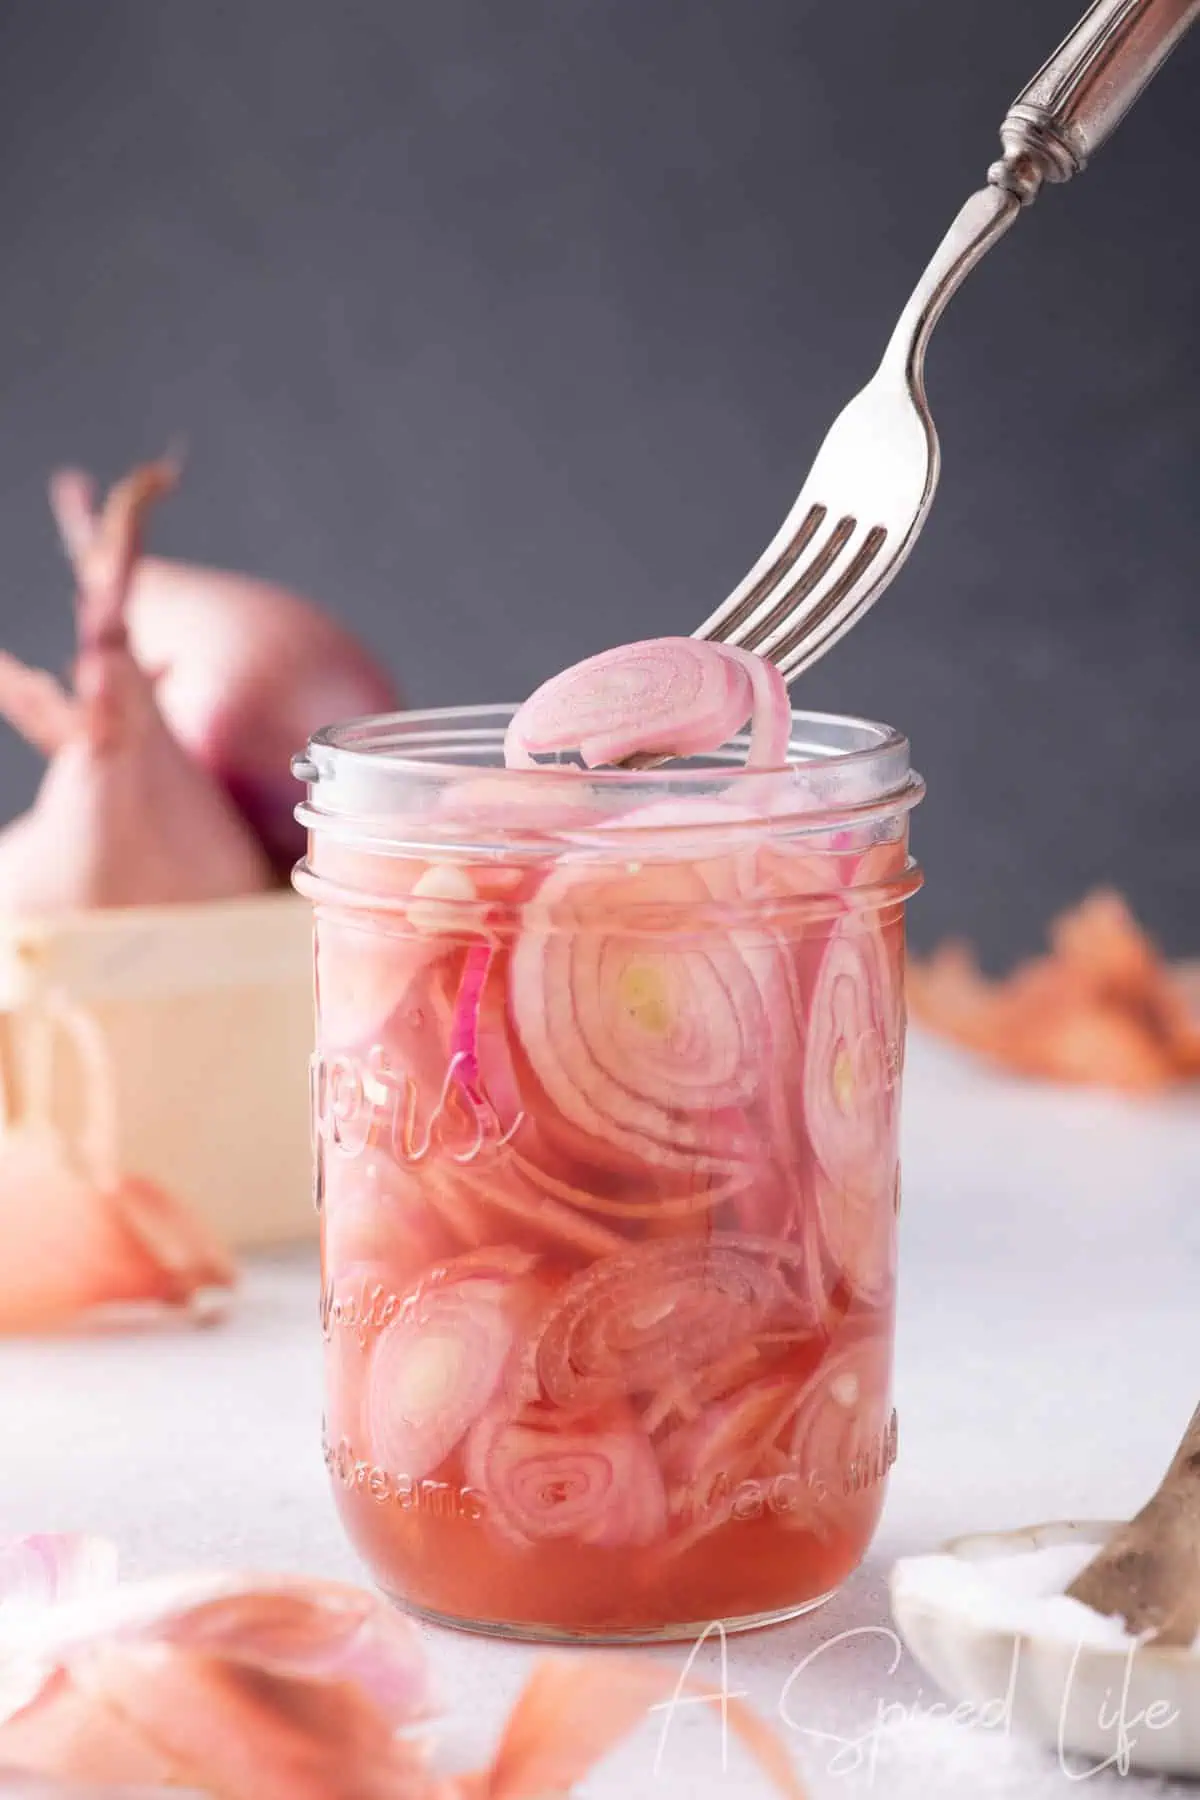
Table of Contents
- How Do You Make Pickled Shallots?
- Why You’ll Love This Pickled Shallots Recipe
- Pickled Shallot Ingredients
- How to Make Quick Pickled Shallots
- Substitutions & Variations
- What is the Difference Between Shallots and Onions?
- How to Choose the Right Shallots
- Expert Tips
- Storage Info
- Recipe Testing Notes (What Worked Best)
- Recipe FAQs
- Delicious Starts Here
Pickled Shallot Ingredients
Refer to the printable recipe card below for ingredient quantities and detailed instructions.
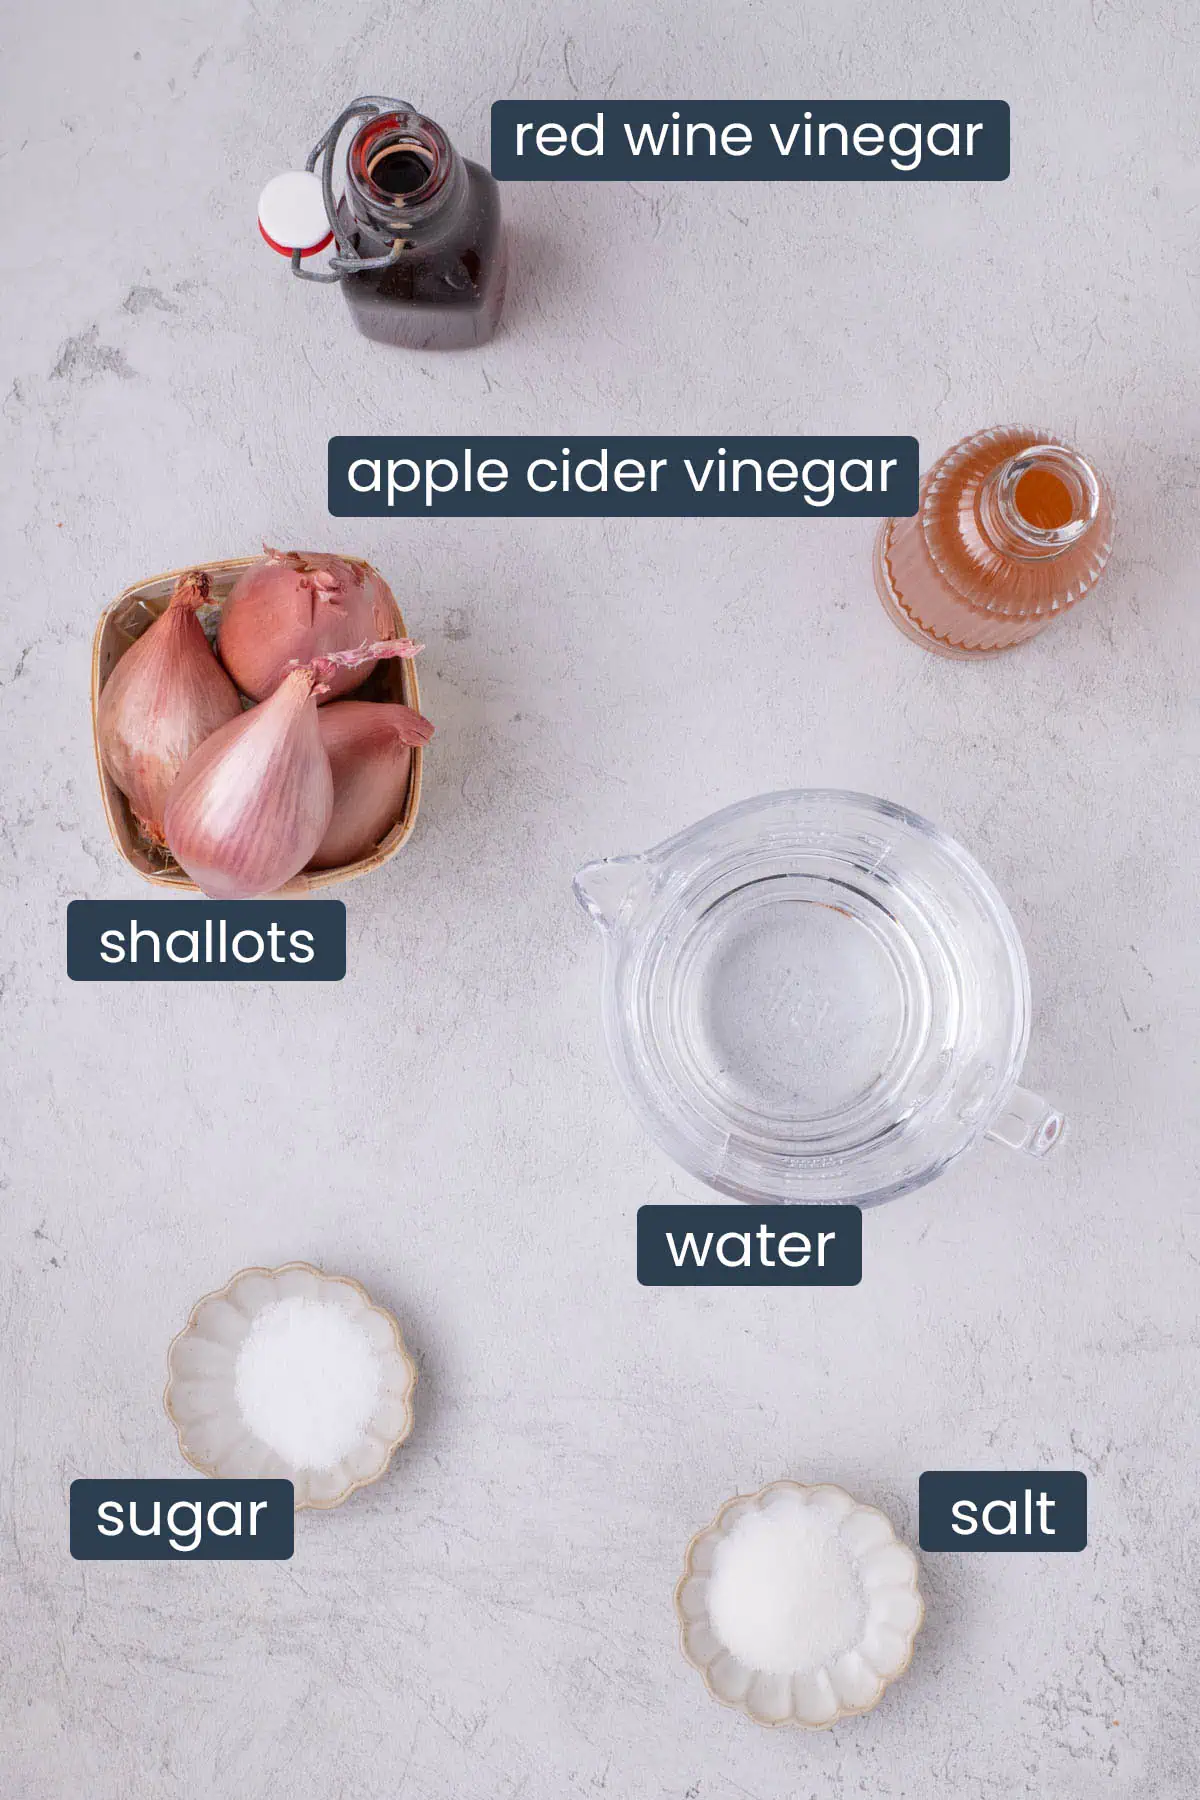
- Shallots: This recipe uses large shallots (about the size of a large egg).
- Apple Cider Vinegar: Adds acidity with a subtle sweetness
- Red Wine Vinegar: When combined with the apple cider vinegar creates a beautiful shade of pink.
- Salt & Sugar: Aids in softening the shallots. Rounds out the vinegars and balances overall taste.
This combination creates a balanced, quick pickle; bright, tangy, and subtly sweet.
How to Make Quick Pickled Shallots
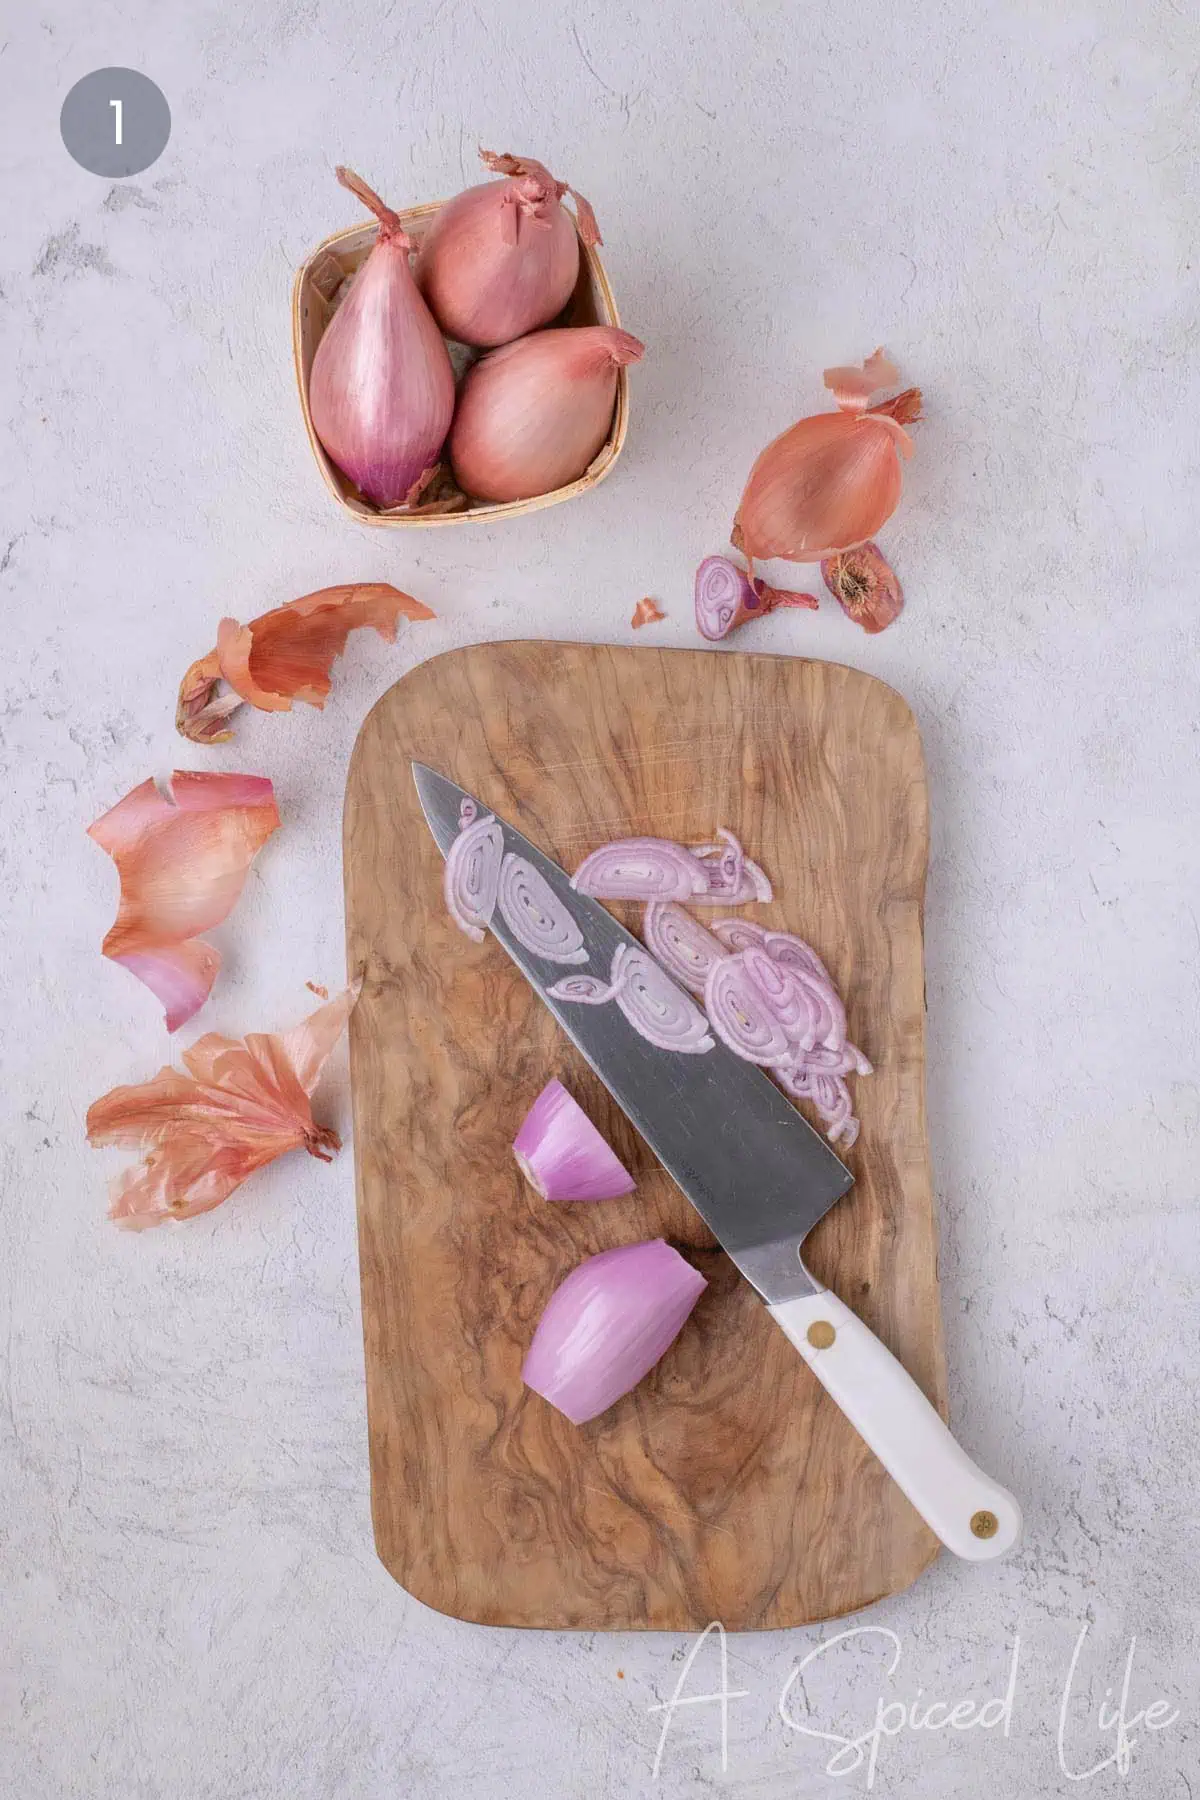

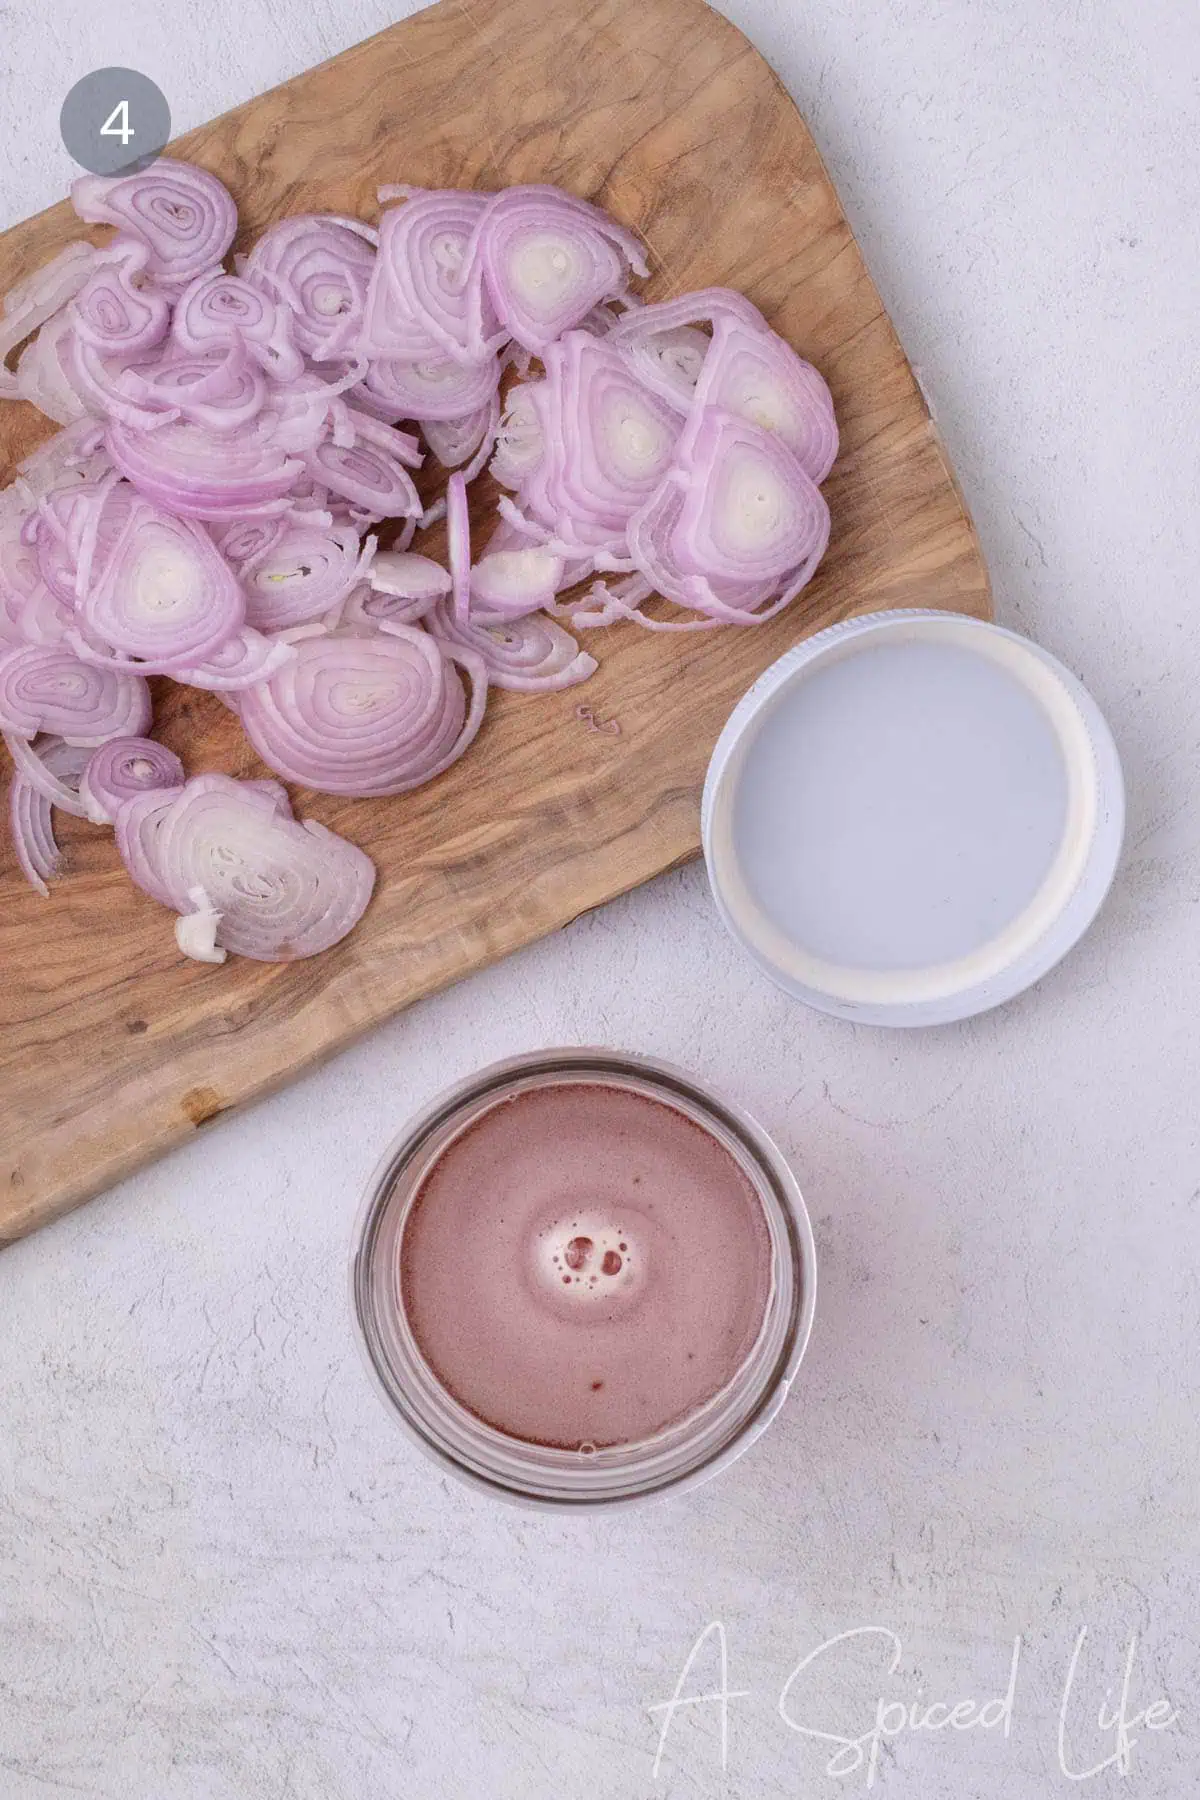
1. Peel and thinly slice shallots about 1/16-inch thick.
2. Combine vinegars and water in a heatproof jar and microwave until hot.
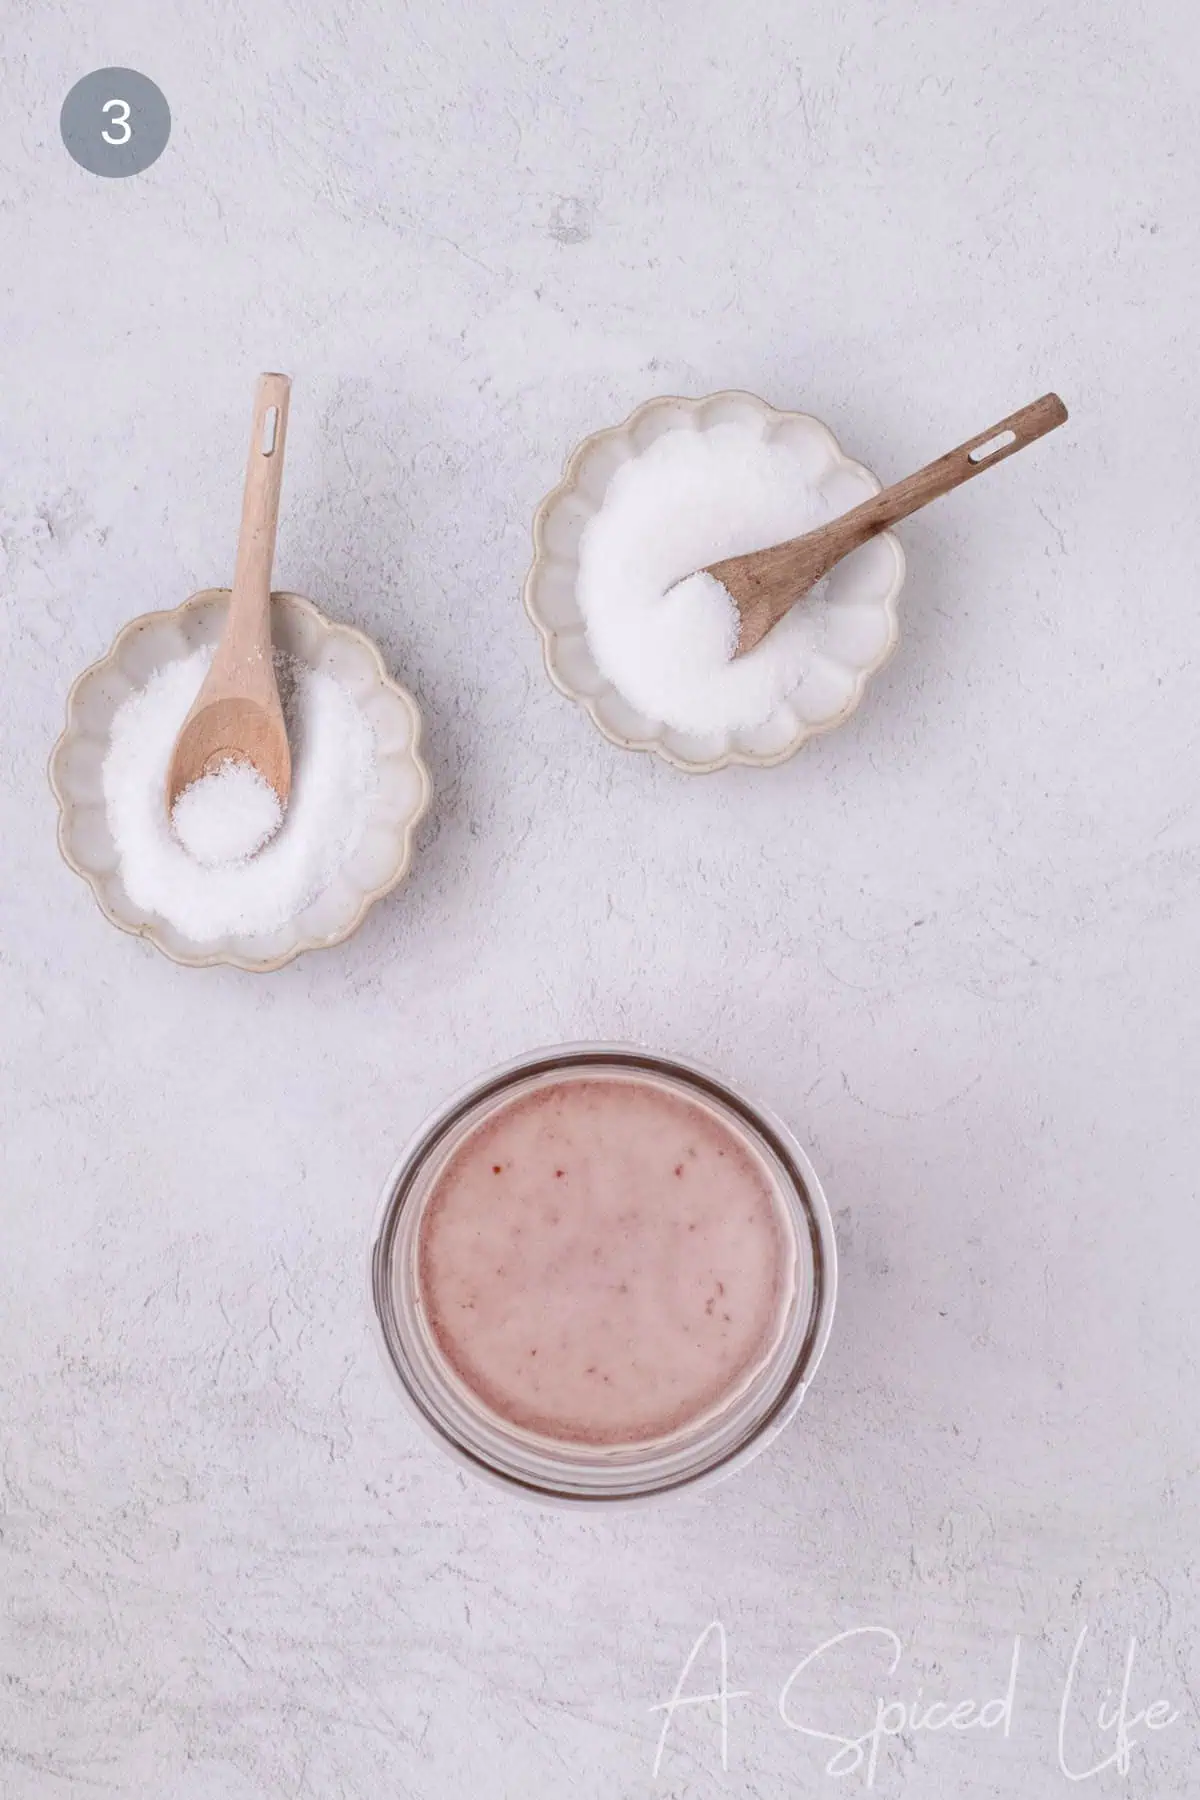
3. Add salt and sugar and mix until dissolved.
4. Add shallots, making sure they are submerged in the brine.
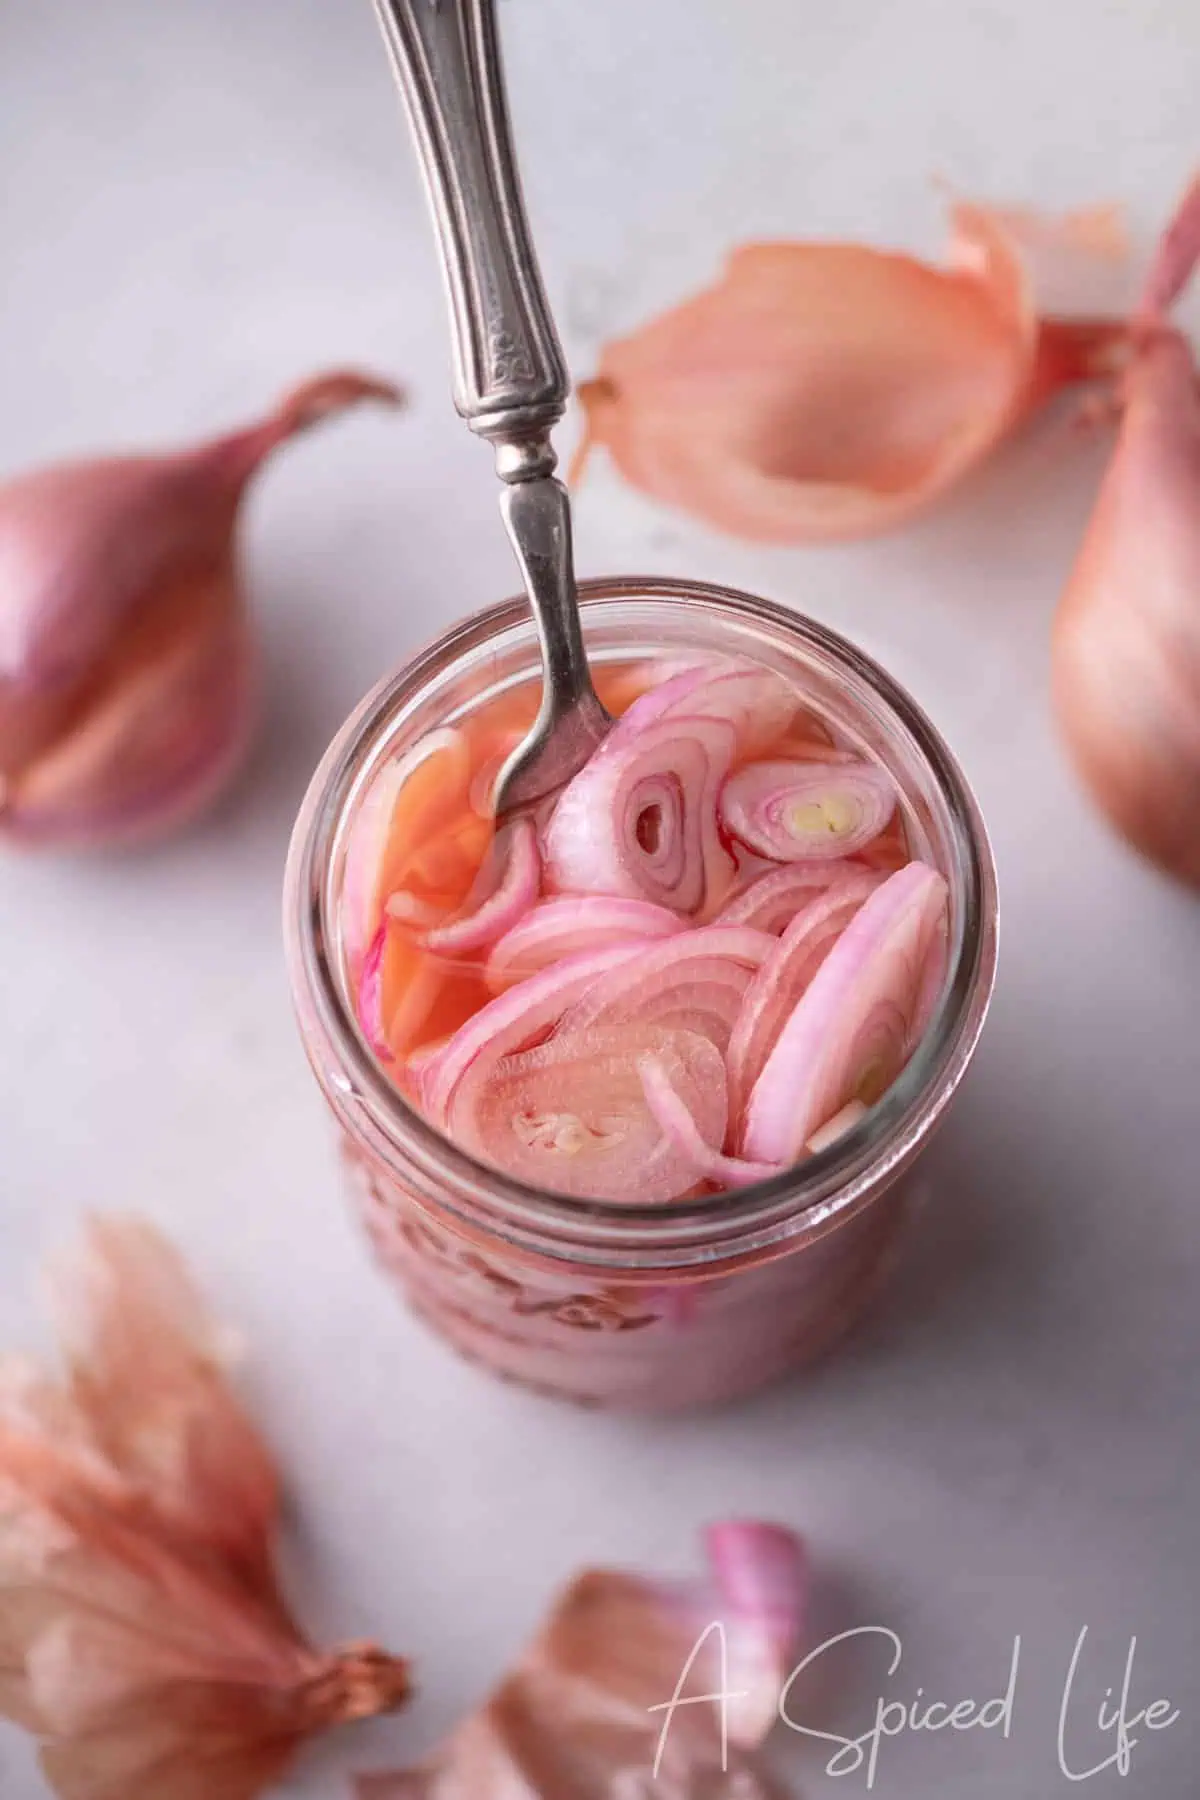
5. Let shallots sit in the brine for 25 minutes until ready to serve.
Substitutions & Variations
- Experiment with different vinegars: white vinegar will give you a sharper flavor, while seasoned rice vinegar has a milder, sweeter flavor (if using this, omit the sugar).
- Make honey-pickled shallots by swapping sugar for an equal amount of honey for a deeper, slightly floral taste.

Join my newsletter!
Subscribe and get a new recipe each week + my bonus guide: ‘5 Easy Baking Tips That Will Change the Way You Bake. Forever’……. Because Delicious Starts Here.
What is the Difference Between Shallots and Onions?
Shallots and onions are both alliums, but they differ in flavor, size, and structure. Shallots are smaller, grow in clusters, and have a milder, slightly sweeter taste than onions, which have a sharper, more pungent flavor.
Because of their delicate flavor, shallots are ideal when you want a more balanced, less aggressive bite; perfect for sauces, dressings like a shallot vinaigrette, or this pickled shallot recipe.
How to Choose the Right Shallots
This recipe calls for 2 to 3 large shallots, and choosing the right size will help you achieve the best flavor and texture.
- A medium shallot is about the size of a golf ball
- A large shallot is about the size of a large egg
Look for shallots that are firm and free of mold, with dry, intact papery skins. Most shallots naturally split into two halves (or “cloves”), so choose ones that are whole and unbroken.
Expert Tips
- Slice thin for best texture: Aim for about 1/16-inch slices so the shallots soften quickly and evenly.
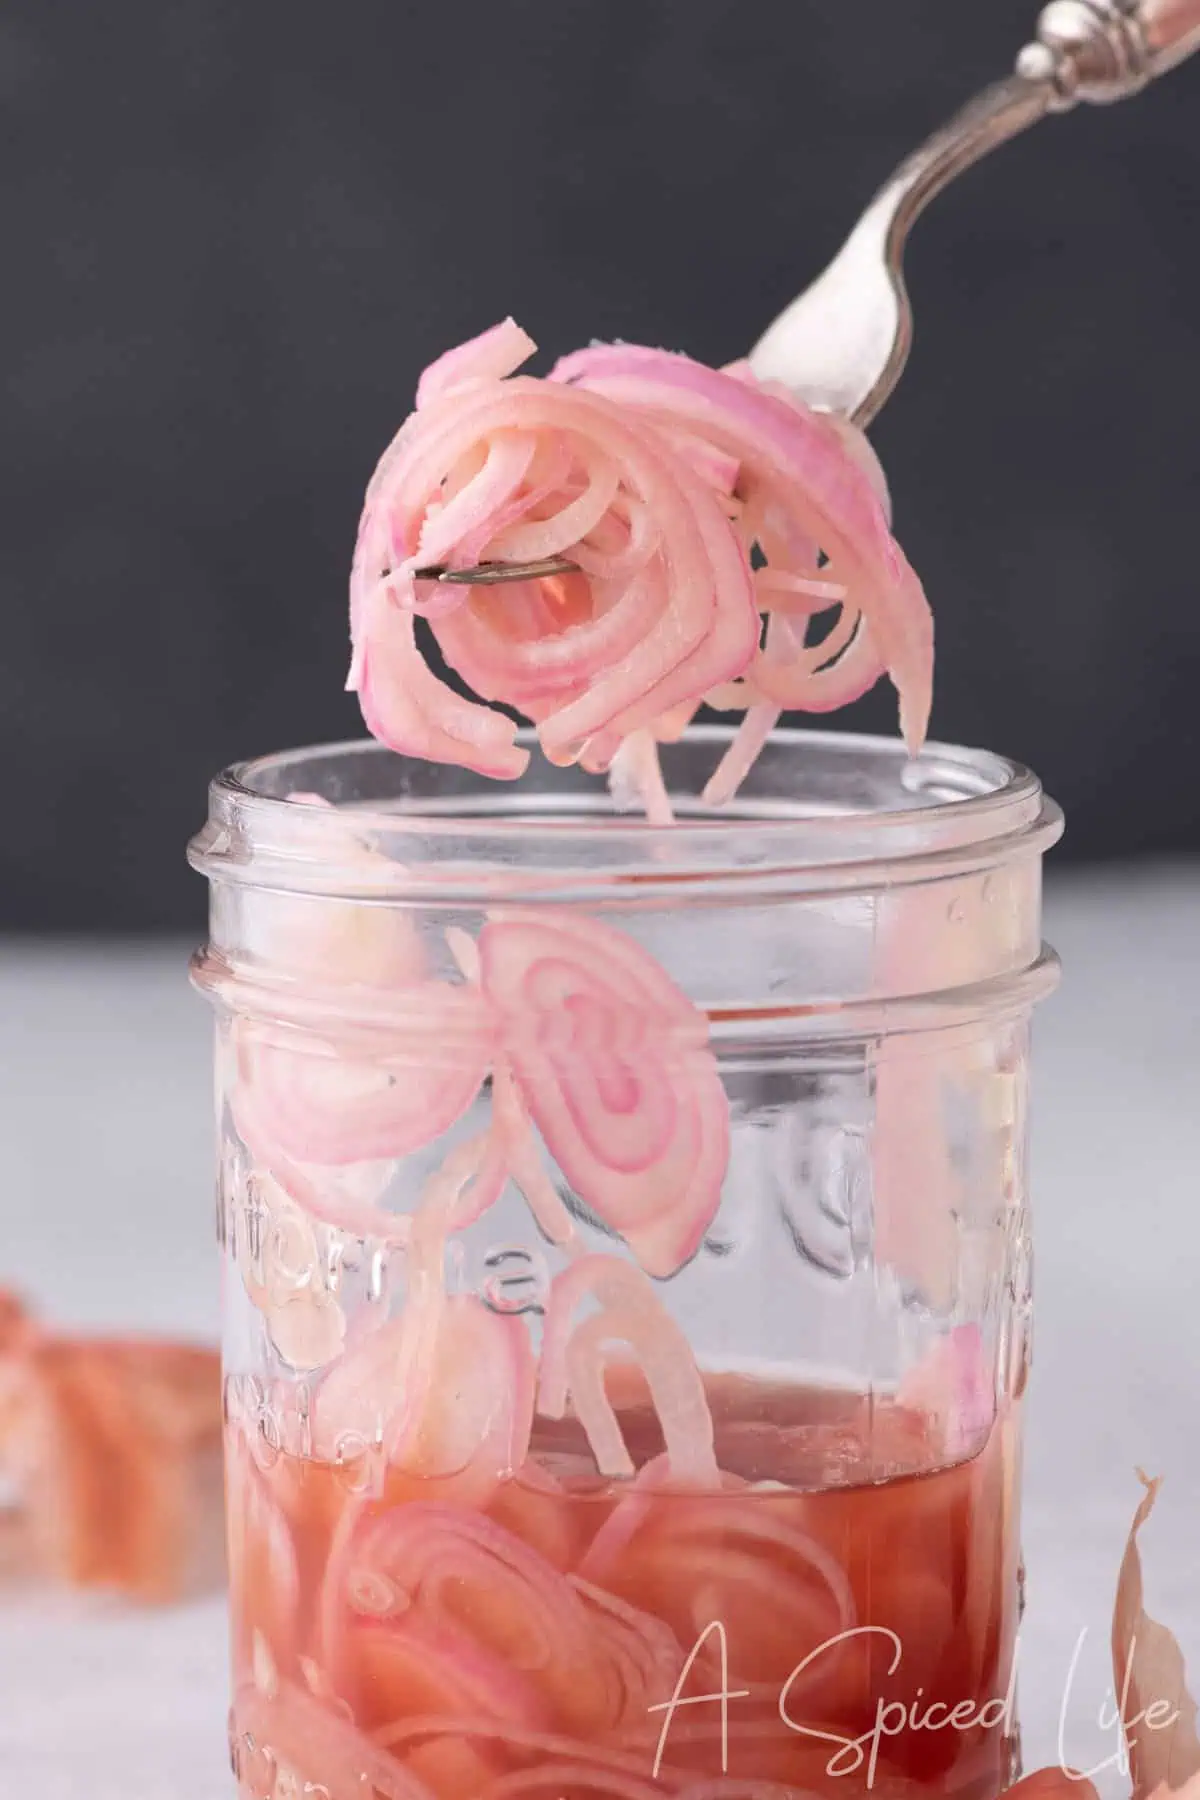
- Fully submerge the shallots: The shallots will shrink as they pickle, so don’t worry if it seems like you have too many for the jar; just press them down into the brine, and they’ll settle in.
- Let them sit for at least 25 minutes: This allows the shallots to mellow and develop a more balanced, less sharp flavor.
Storage Info
How long do shallots last? This recipe is designed as a quick refrigerator pickle and is not intended for canning pickled onions. Because it hasn’t been tested for long-term preservation, always store shallots in the refrigerator.
Refrigerator: Store your quick pickled shallots in the same glass jar you prepared them in, as long as it is airtight. For best flavor and texture, enjoy within 1 week.
They may last longer in practice, but for consistency and food safety, it’s best to follow standard storage guidelines.
Freezer: Freezing shallots that have been pickled is not recommended. The texture is affected after thawing, making them mushy.
Recipe Testing Notes (What Worked Best)
I tested these pickled shallots multiple times to balance acidity, color, and overall texture.
- Letting the shallots sit in the brine: A 25-minute rest time produced tender shallots with a bright, well-balanced bite. Shorter times resulted in a sharper, less developed flavor.
- Balancing vinegars improves both color and flavor: Initially, I tried making a brine with just red wine vinegar and water, to achieve a nice pink hue; however, the color was too dark, and the taste was not rounded enough. I found that combining apple cider with half the amount of red wine vinegar yielded a perfect pink hue and better flavor.
- Cutting shallots for better texture: In my first batch, I sliced the shallots slightly thicker (about 1/8-inch). While the flavor was the same, it was too much to bite into; I wanted something more visually appealing. For thinner, more delicate slices, keep them at 1/16-inch. If your knife skills aren’t quite there, a mandoline can help you achieve thin, even slices.

Recipe FAQs
The last batch I made has been in the refrigerator for 3 weeks now, and the shallots are still fine (the acidity helps slow bacterial growth). You can safely enjoy them 2-3 weeks.
Shallots grow in clusters, usually 2 cloves attached at the root. They’re still counted as one whole shallot, just like a head of garlic is counted as one, not each clove.
Yes, you can reuse the brine once or twice to make additional pickled shallots. Keep in mind that each batch will slightly dilute the flavor, so the second round may be milder. To refresh the brine, add a splash of vinegar before using it again.
Yes, this method works just as well for onions. You can easily adapt it into a quick pickled red onion recipe to achieve the same pink hue.
For other pickled onion variations, you can also use yellow or white onions. To create a similar pink color, increase the red wine vinegar to ½ cup and reduce the apple cider vinegar to ¼ cup. This adjustment works especially well for pickled yellow onions.
Delicious Starts Here
If you make this recipe, I’d love to hear how it turned out. Please leave a rating and a comment below; your feedback helps other home cooks decide if this recipe is right for them. And if you share it on Instagram, tag me @aspicedlifeblog so I can see your beautiful creations.🧡
Quick Pickled Shallots (No-Cook Recipe)
Ingredients
- 215 g whole shallots (about 3 large shallots)
- ½ cup apple cider vinegar
- ¼ cup red wine vinegar
- ¼ cup water
- 2 teaspoons kosher salt (such as Diamond Crystal Kosher Salt)
- 1 teaspoon granulated sugar
Equipment
Instructions
- Cut the elongated ends off the shallots (leave the root ends intact for easier slicing). Remove the thin papery peel, then separate the halves or ‘cloves’. Thinly slice the shallots horizontally into rings (about 1/16-inch thick). You should have 1 ½ cups.
- Add both vinegars and the water into a sterilized 2-cup-capacity heatproof glass or canning jar.
- Microwave in 30-second intervals for about 1 minute, or until the liquid is hot.
- Add the salt and sugar. Seal the jar and shake until fully dissolved.
- Add the sliced shallots, pressing them down so they are fully submerged in the brine.
- Seal tightly and let sit for 25 minutes before using. Refrigerate until needed.
Notes:
Nutrition
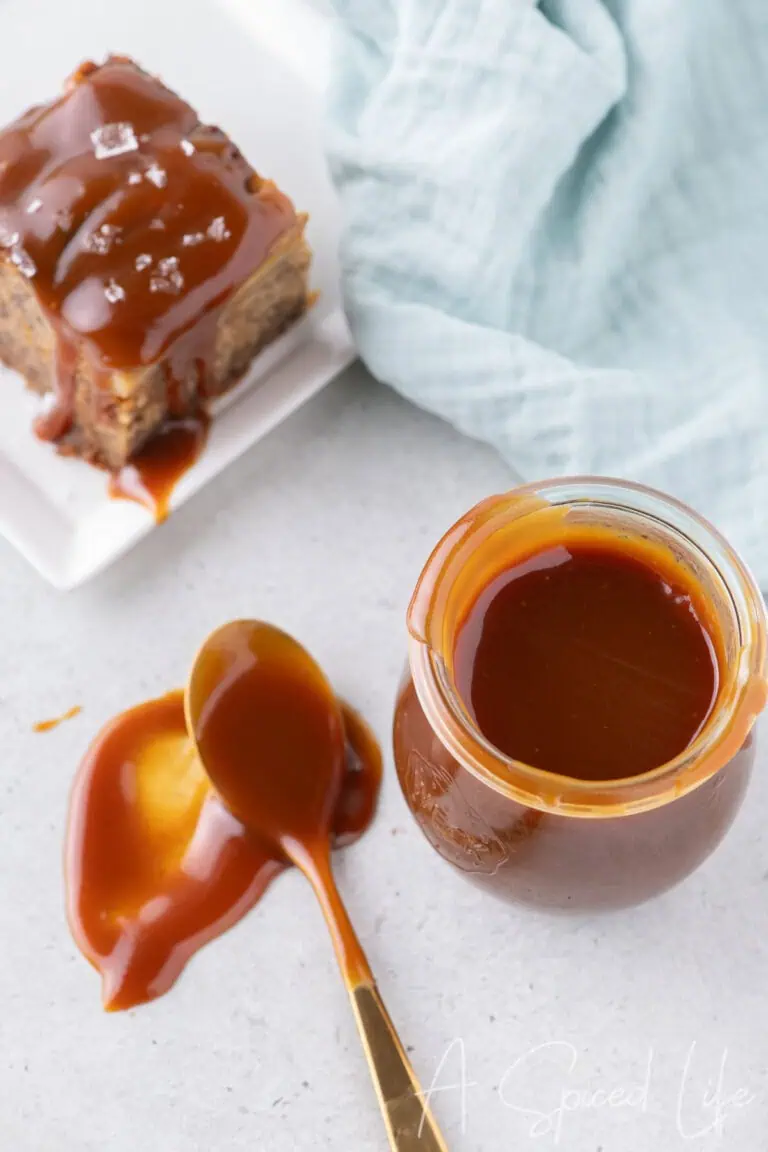
If you loved these quick pickled shallots, try pairing them with my air fryer turkey meatballs; they’re a great addition if you’re building a bowl. They’re also delicious on salads, burgers, and fresh fish for an instant upgrade.


I’m discovering so many uses for these pickled onions! They’re delicious and easy to make.
I put these on everything once I learned how easy pickling was. Total game changer for weeknight meals.
That’s exactly how I feel about them too, once you start making quick pickled shallots, it’s hard not to put them on everything!