

How to Build a Christmas Cookie Box for Gifting
Making a Christmas cookie box doesn’t have to mean an exhausting weekend of baking. Choose a small mix of cookies, do a little preparation ahead, and build your gift in manageable stages. You can spread the work over several days, or get started weeks ahead by freezing the cookie dough or baked cookies.
For this Christmas cookie box, I chose five varieties with different flavors, shapes, and finishes. Four start with my Basic Cookie Dough, so you can create a colorful assortment without making five different doughs.
The make-ahead timeline below breaks everything into manageable steps, from baking and decorating to packing your finished box.
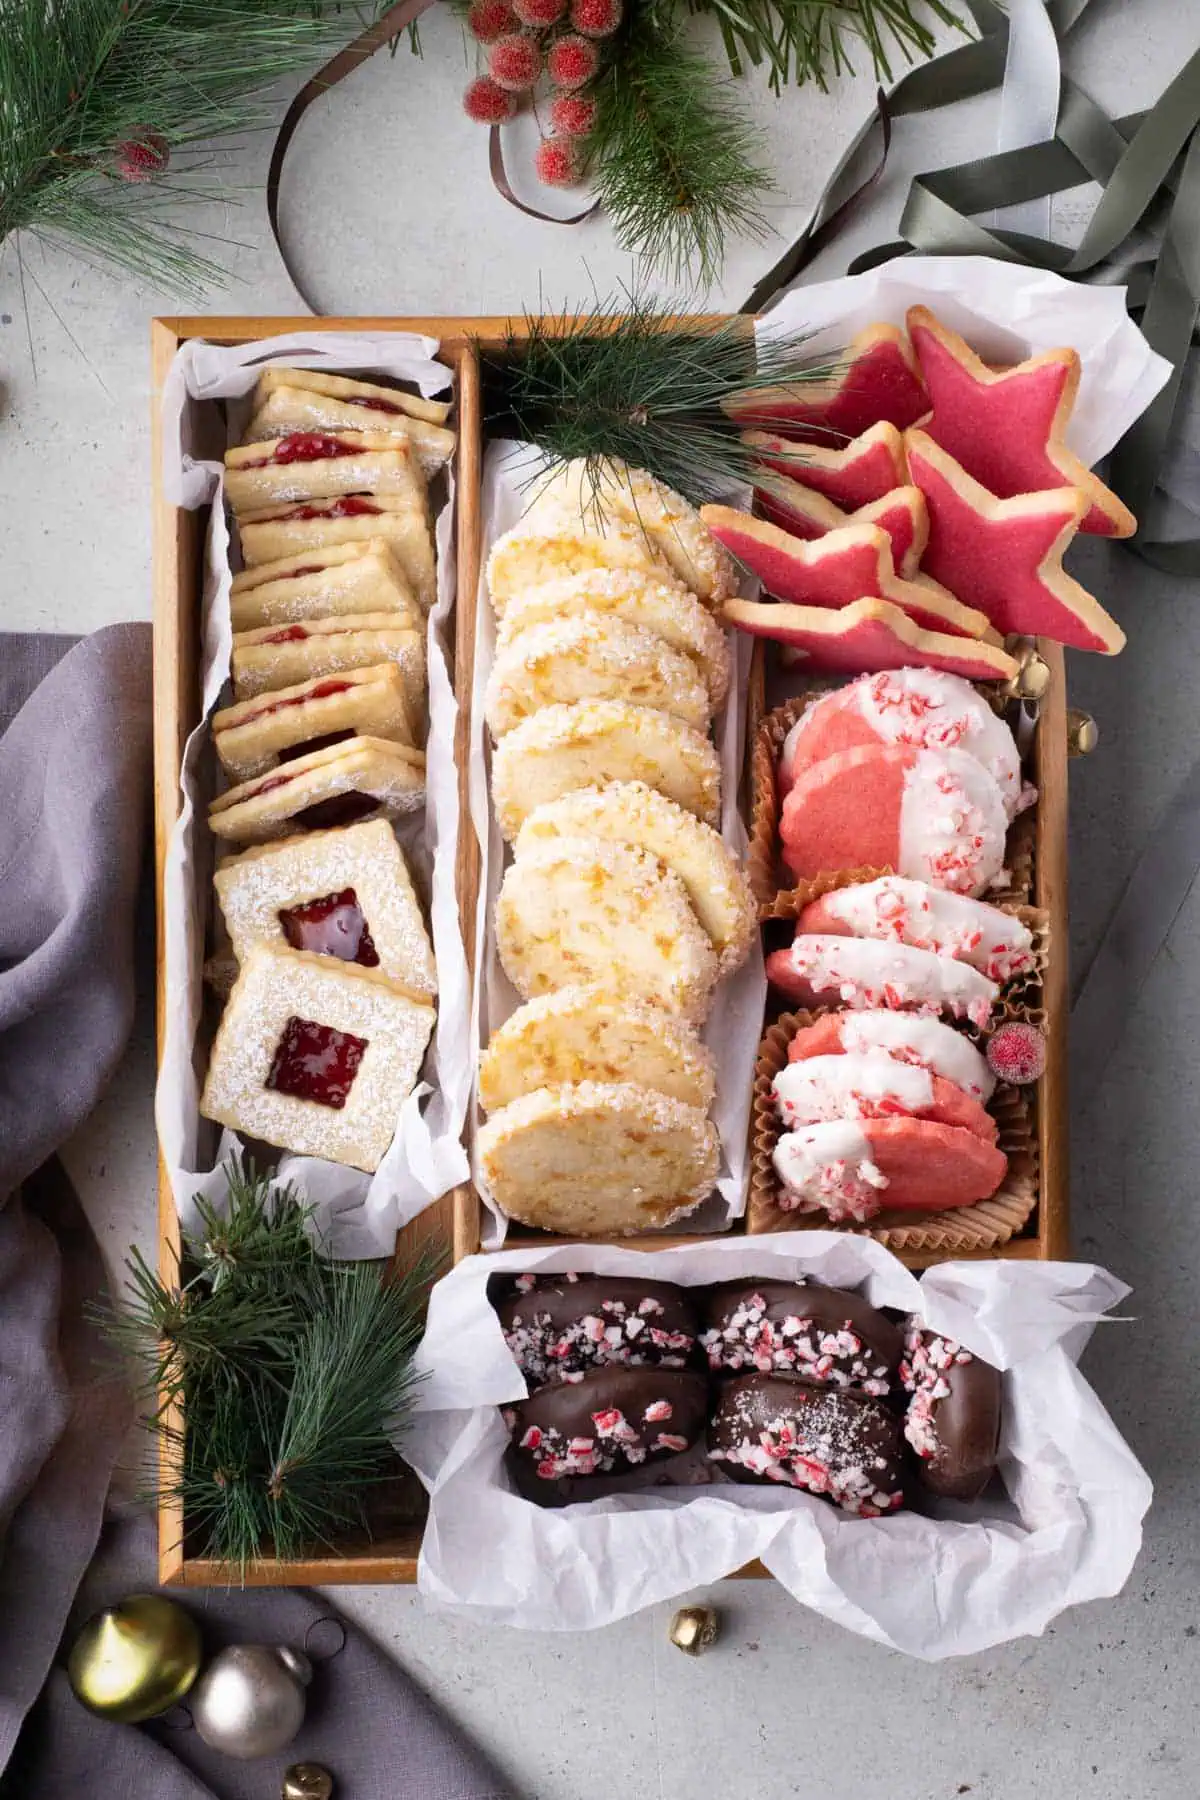
Table of Contents
Choose Your Cookie Recipes
Choose cookies with different flavors, textures, shapes, and colors. You don’t need to make all five; even three varieties can make a beautiful gift. Here’s the mix I used:
- Peppermint White Chocolate Cookies: for a pale pink-and-white finish.
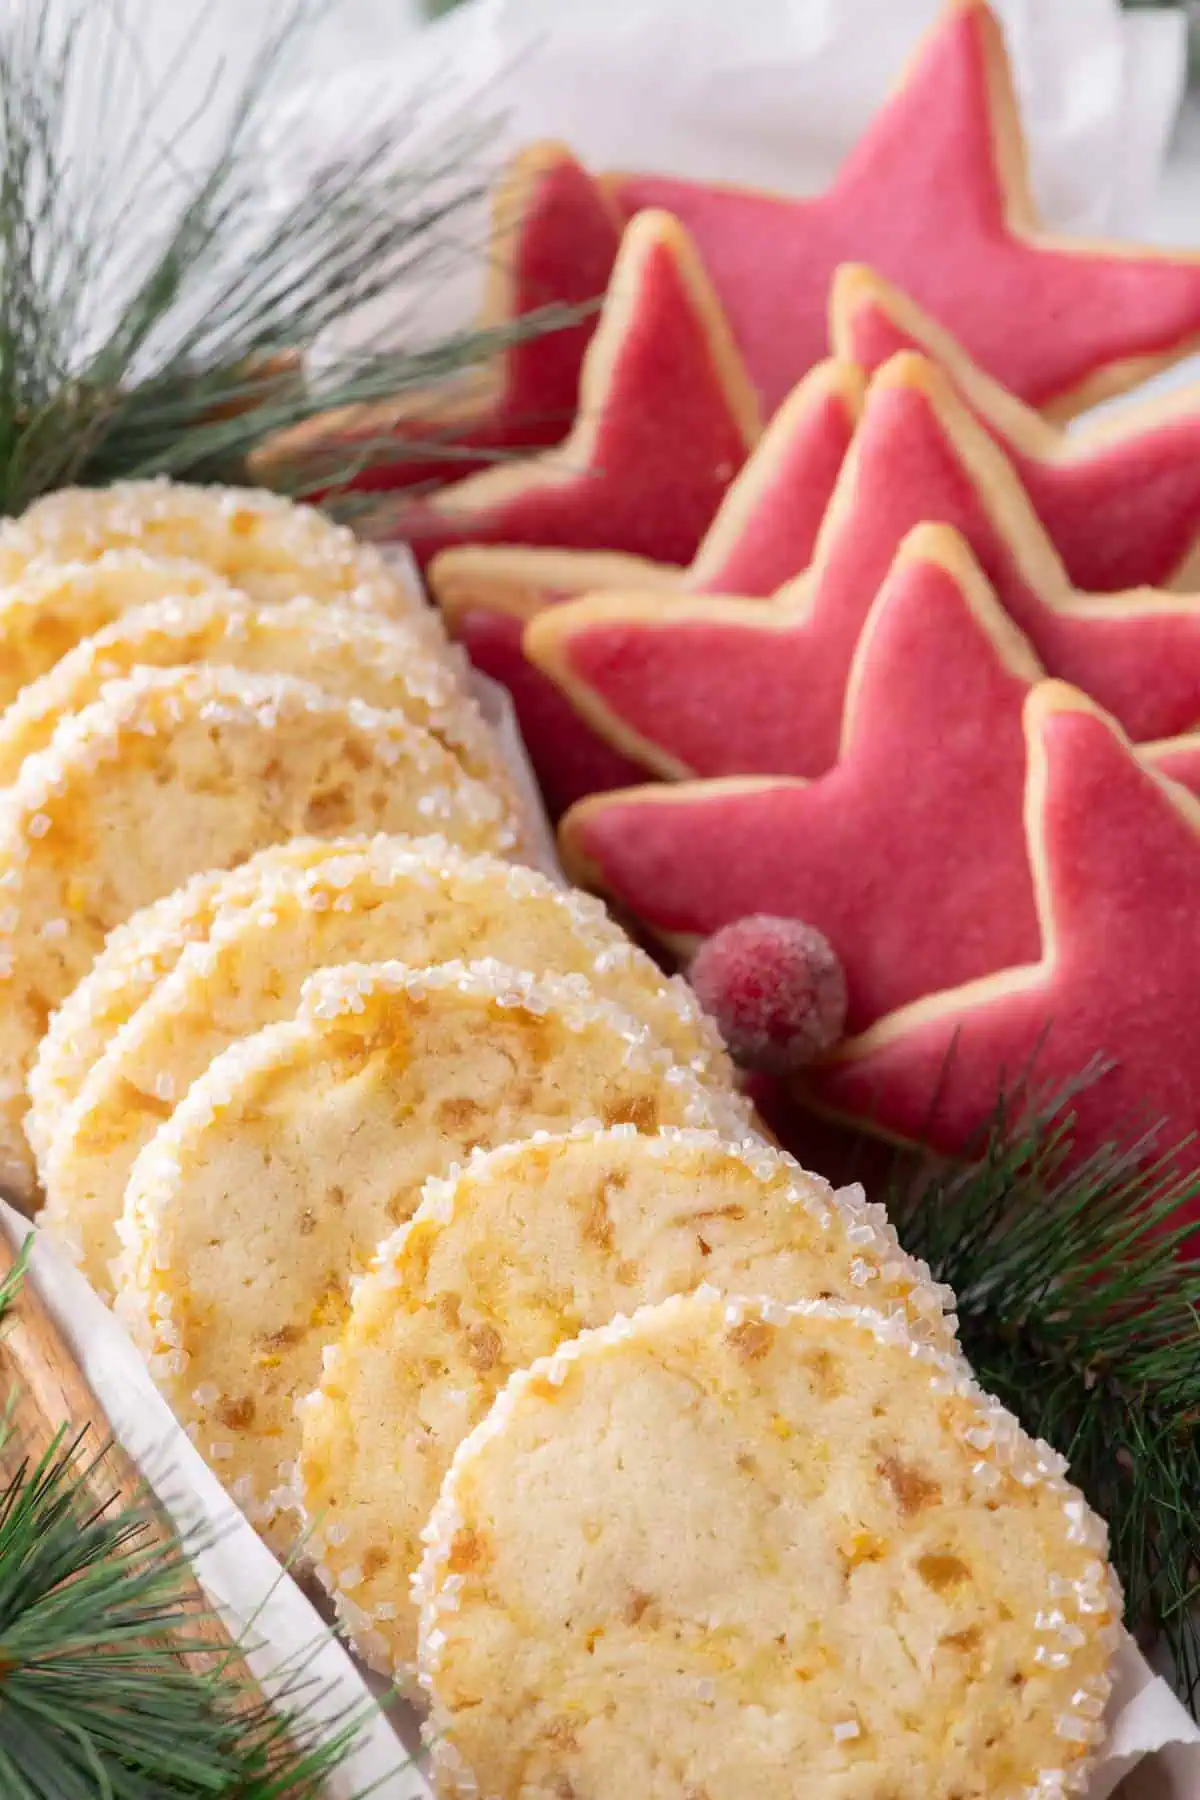
- Orange Ginger Cookies: Golden cookies with citrus and ginger.
- Butter Cookies with Cranberry Glaze: Tender star-shaped cookies with a naturally pink glaze.
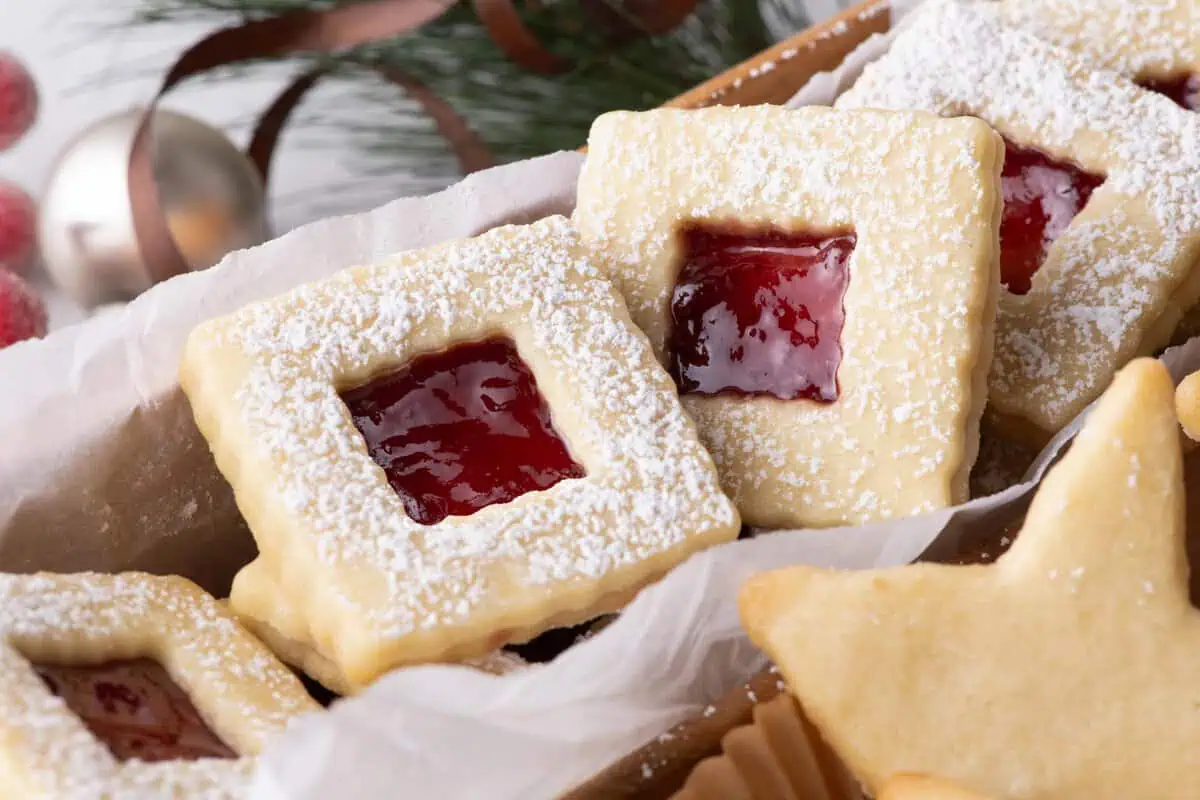
- Raspberry Jam Sandwich Cookies: A little red jam window in a square shape.
- Chocolate-Dipped Chocolate Cookies: Deep chocolate flavor with a peppermint crunch.
For a warmer spice note, swap one of the peppermint varieties for Spiced Shortbread Cookies.
A note on texture: For delicate cut-out cookies, especially the star shapes, I recommend baking them slightly longer, until they’re firm and lightly golden around the edges. The cranberry glaze gradually softens the cookies, making them more likely to break when handled.
Raspberry jam sandwich cookies also soften over time as the filling adds moisture to the cookie layers, giving them a more tender bite. If you prefer a crisper sandwich cookie, assemble them closer to gifting day.
What to Use as a Cookie Box
Start with a container that comfortably holds your chosen cookies. You may already have something suitable at home.
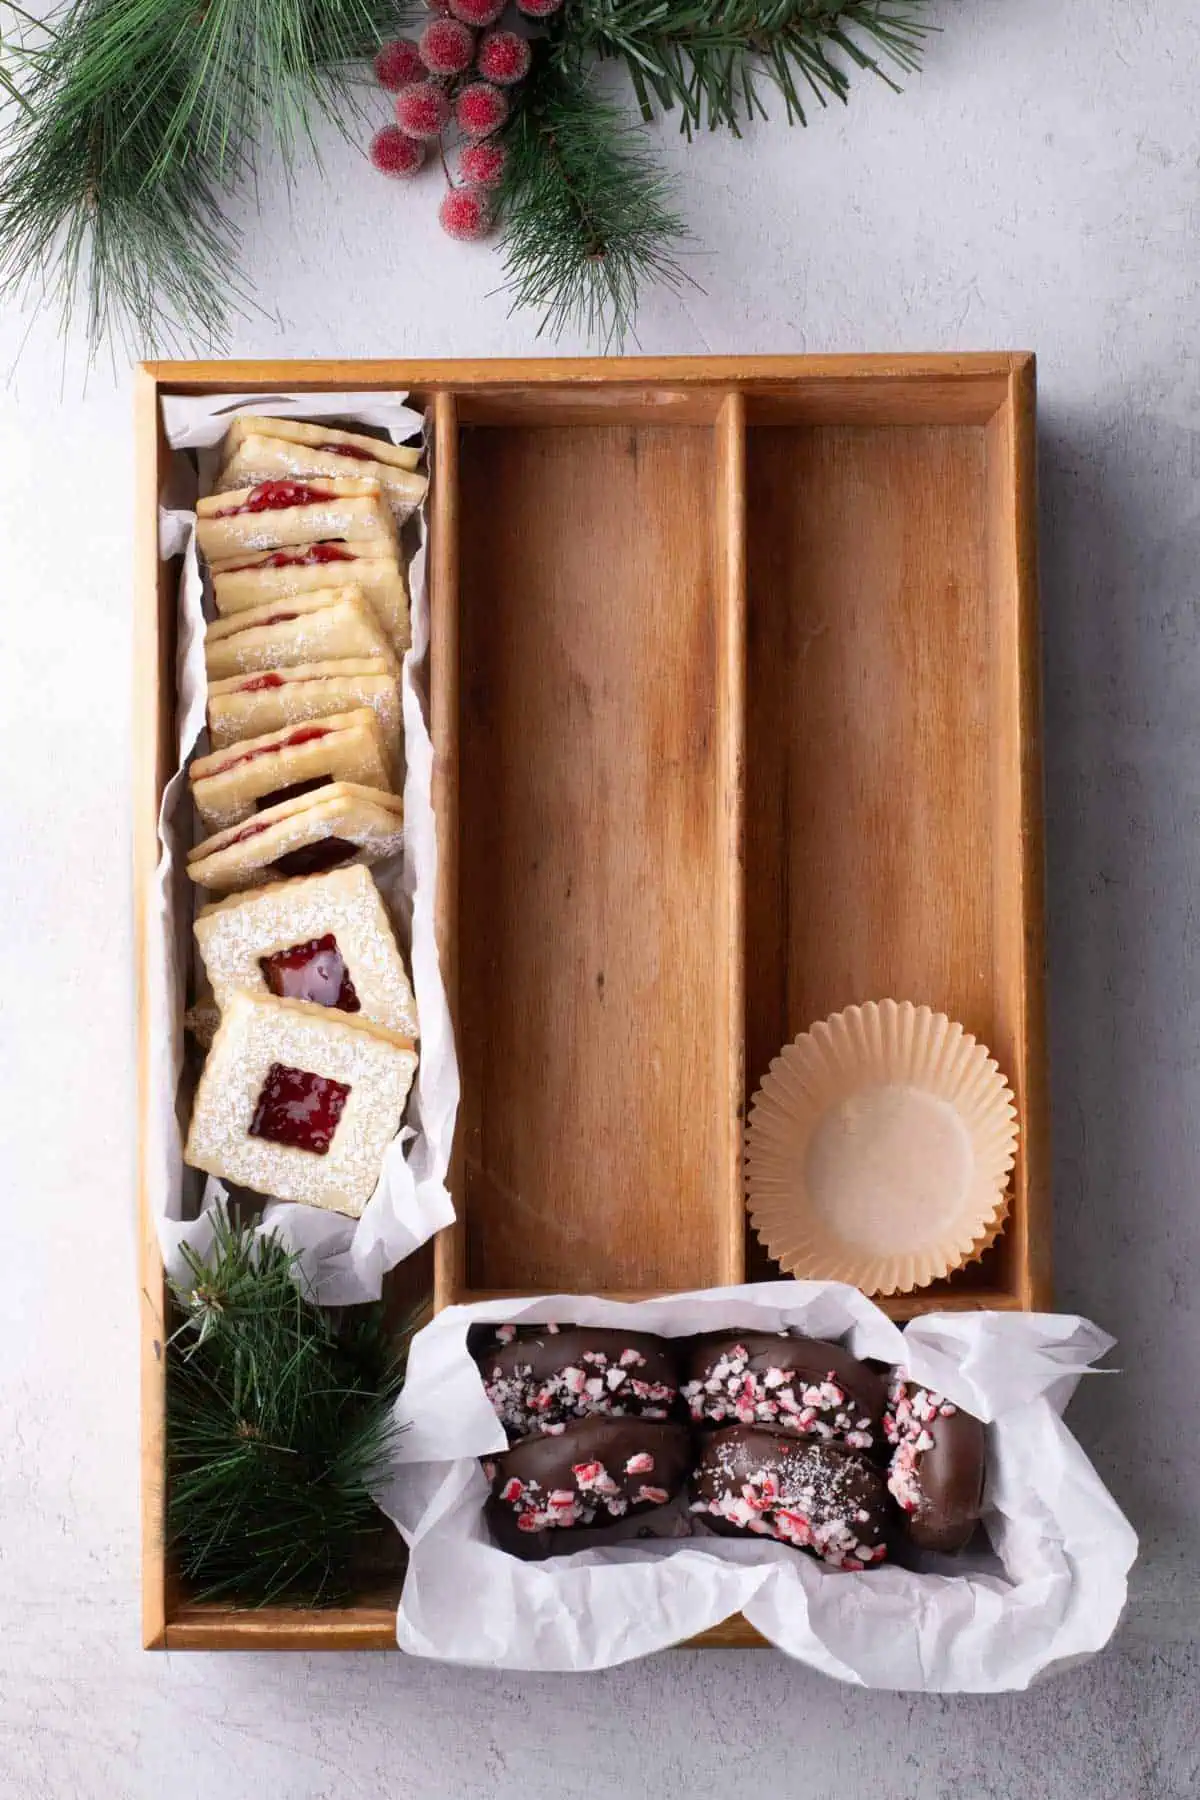
- Vintage Organizer Trays: Scour thrift stores or garage sales for vintage-looking cookie tins, cutlery trays, or desk organizers (anything with divided sections). I used a wooden cutlery tray for this box. Its compartments help organize the different varieties and make a lovely presentation for local gifting.
- Cardboard bakery boxes: Food-safe boxes are convenient for making several gifts, and a window lid shows off the cookies.
- Cookie tins: Reusable and easy to close, with room to arrange cookies in small groups.
*For wooden trays, choose a clean, odor-free container in good condition and line each compartment with food-safe parchment. Avoid trays with unknown coatings or residues.

Make-Ahead Cookie Box Timeline
One to two weeks before gifting:
- Choose your cookie recipes and container.
- Check your ingredients and gather packaging supplies (ribbons, cellophane etc).
- Make any dough that can be frozen.
- Label each batch of dough with the cookie name, date, and baking instructions.
Three to five days before gifting:
- Bake cookies that will keep well through gifting day, following each recipe’s storage guidance. Cool completely before storing each variety separately in airtight containers.
Two days before gifting:
- Crush candy canes for peppermint and chocolate cookies.
- Melt the white and dark chocolate separately. Dip the appropriate cookies into each, then sprinkle with crushed candy canes before the coatings set.
- Let the coatings set completely before storing.
One day before gifting:
- Make and apply the cranberry glaze, allowing it to set completely before storing the cookies in a single layer in an airtight container.
- If using powdered sugar, dust the windowed cookie tops before assembling the sandwich cookies with raspberry jam.
- Line your container with parchment and add any parchment dividers or paper baking cups so it’s ready for packing.
Gifting day:
- Organize each variety by size and finish and place into each compartment.
- Pack the tray with extra parchment to prevent the cookies moving.
- Wrap in cellophane, add the ribbon and/or tag and gift.

How to Store Cookies Before Gifting
Store each variety separately in an airtight container until you are ready to assemble the box. Keep peppermint cookies separate from milder flavors, and keep crisp cookies separate from soft ones to help preserve their textures.
Follow each recipe’s storage and freezing instructions. Once assembled, the box should be enjoyed within the shortest recommended storage time of any cookie included. Remember, wrapping an open tray for gifting doesn’t make it airtight.
How to Pack a Christmas Cookie Box
- Let cookies cool completely and allow coatings and glaze to set before packing.
- Line your container with food-safe parchment, then arrange the largest, sturdiest cookies first. Group varieties together, placing contrasting colors beside one another.
- Add delicate cookies last: Use paper baking cups or folded parchment to keep glazed, chocolate-coated, and sandwich cookies from pressing against other finishes.
- Fill empty spaces gently with folded parchment to limit movement without squeezing the cookies.
- Close the lid or wrap an open tray for local delivery.
- Add a helpful gift tag: List the cookie varieties and any allergens, along with storage instructions and an enjoy-by date based on the shortest-lasting cookie in the box.
Can You Ship a Holiday Cookie Box?
Yes, with sturdy cookies and protective packaging, you can send a homemade cookie gift farther afield. The open wooden tray shown here is for local hand delivery. For mailing, use a securely lidded tin or rigid food-safe container inside a sturdy shipping carton.
- Choose cookies that can handle the journey. Sturdy cookies with simple shapes travel better than thin, delicate cut-outs. Consider the weather, too: chocolate coatings can soften in warm conditions. Avoid cookies that require refrigeration.
- Wrap for support and freshness. Place sturdy, undecorated cookies of similar size flat bottoms together and wrap snugly in pairs. Protect decorated cookies individually once their finishes have fully set.
- Pack the inner container snugly. Cushion the wrapped cookies so they cannot slide around, without pressing down on delicate decorations.
- Cushion the shipping carton. Add packing material beneath, around, and above the inner container. Gently move the closed box before sealing; nothing should rattle or shift.
- Plan the delivery. Ship early in the week and choose a delivery time that leaves the recipient time to enjoy the cookies within their recommended storage window.
For this assortment, the cranberry glaze, chocolate coatings, and raspberry jam sandwich cookies need extra protection. If you want to keep their decorative finishes looking their best, local gifting is the easier choice.
For additional packing advice, see the USPS packing guide to preparing packages, including tips for cushioning fragile items and preventing movement during shipping.

Join my newsletter!
Subscribe and get a new recipe each week + my bonus guide: ‘5 Easy Baking Tips That Will Change the Way You Bake. Forever’……. Because Delicious Starts Here.
Delicious Starts Here
Putting together a Christmas cookie box? I’d love to hear which cookies you chose. Leave a comment below, and if you share your finished box on Instagram, tag @aspicedlifeblog so I can see your creation.🧡