
Coconut Panna Cotta with Berry Layers
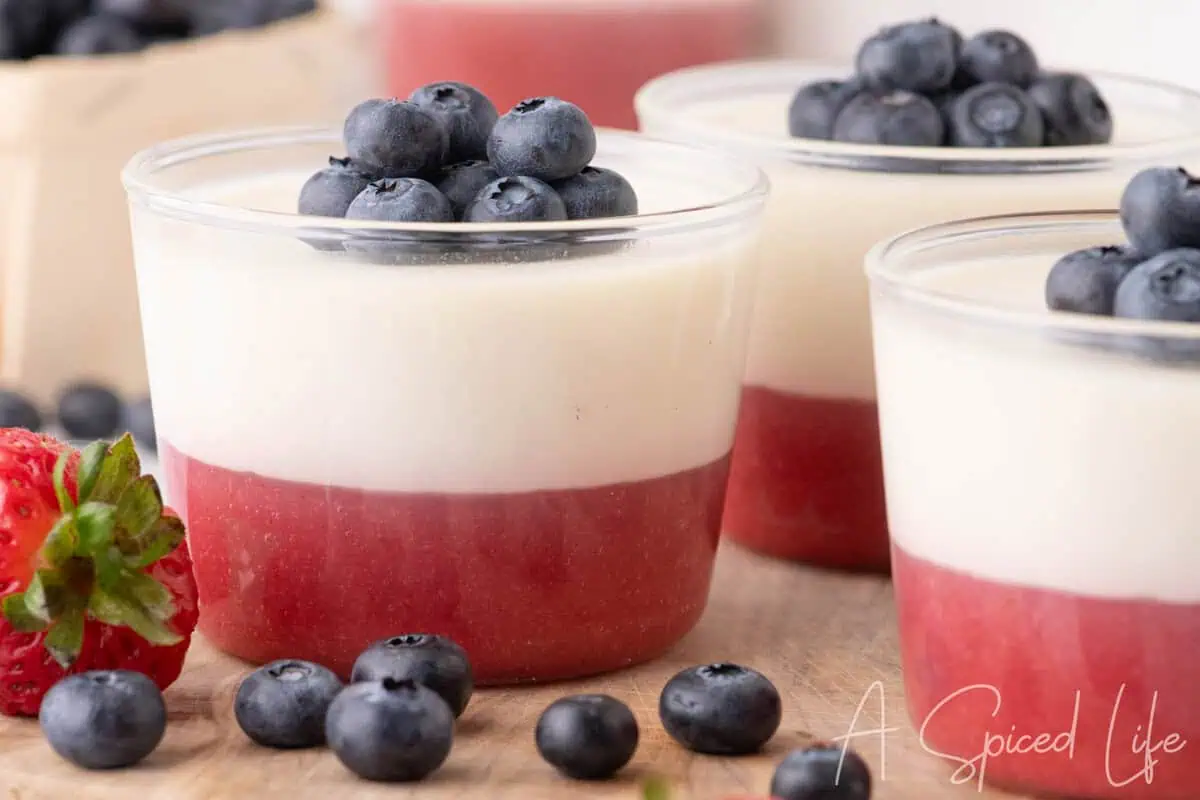
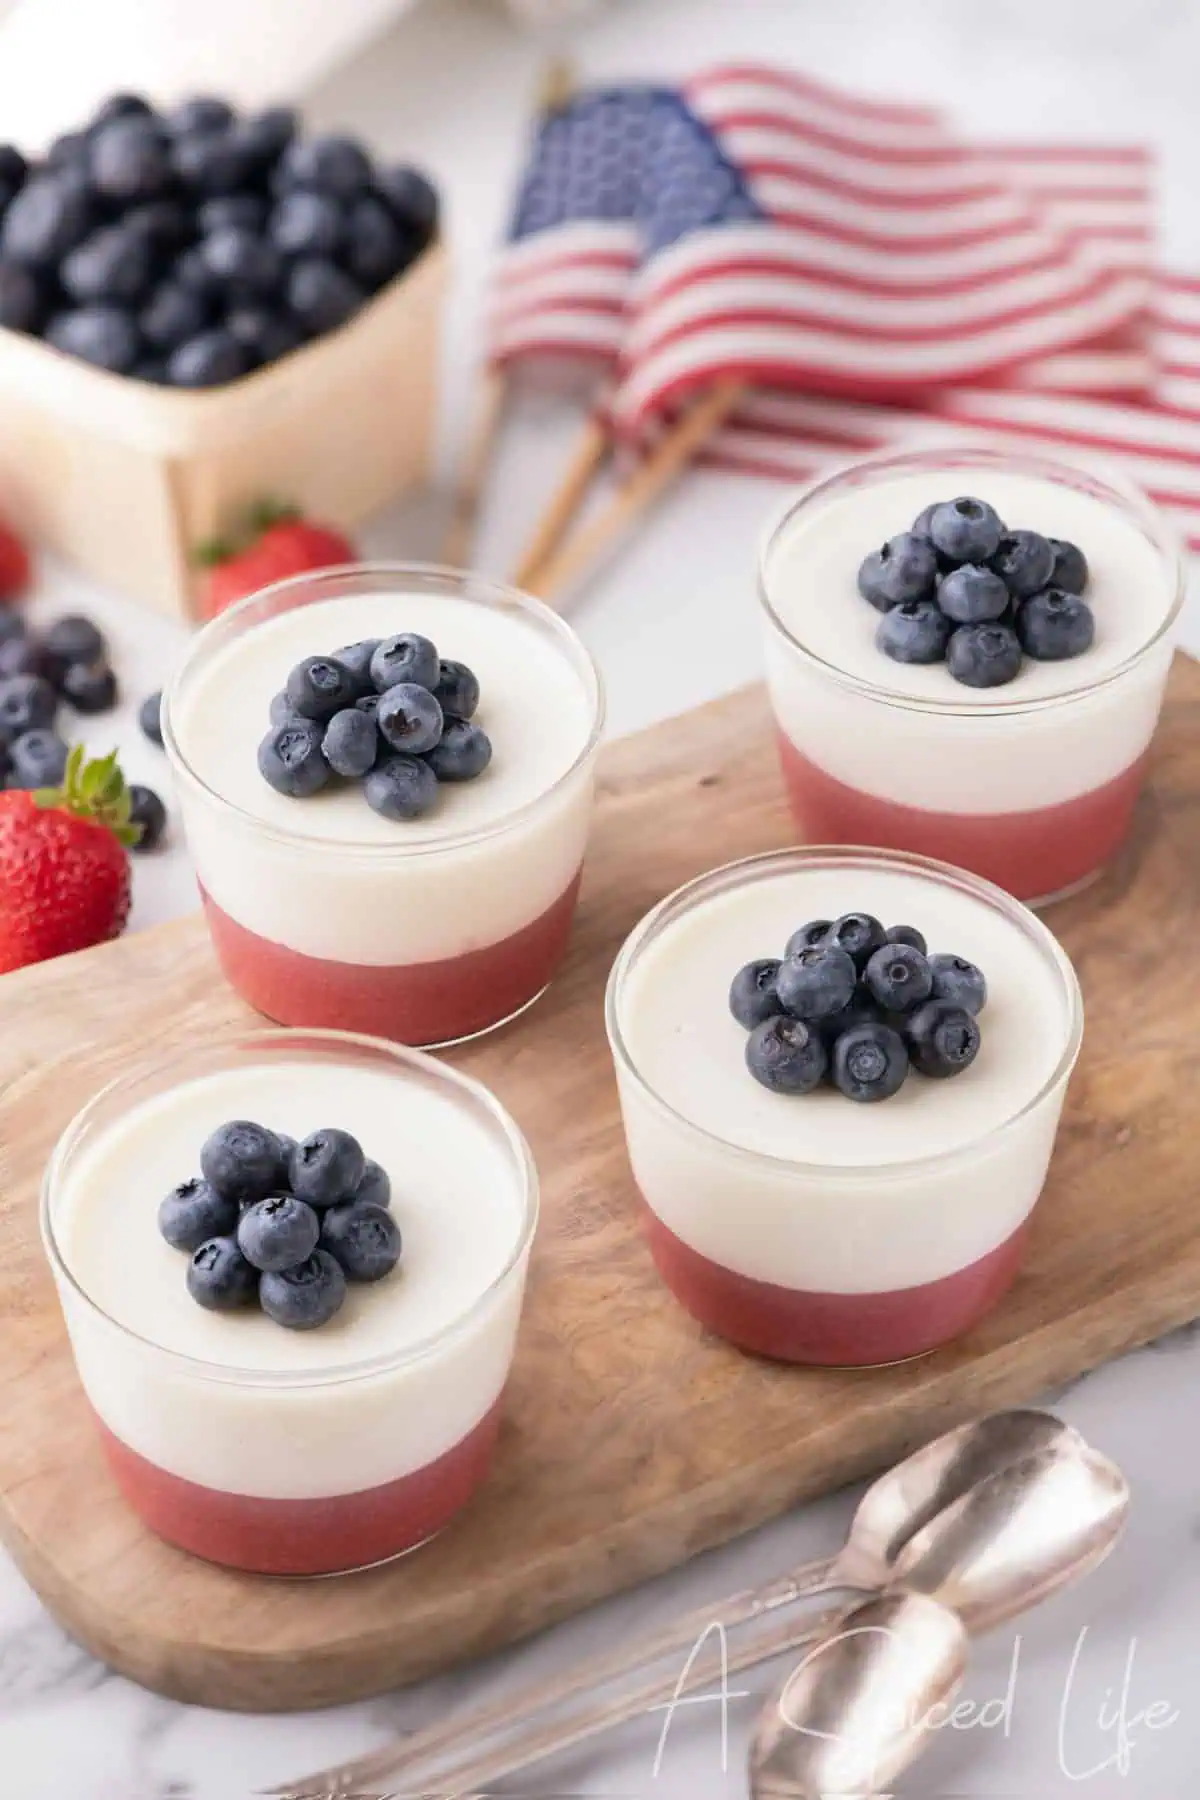
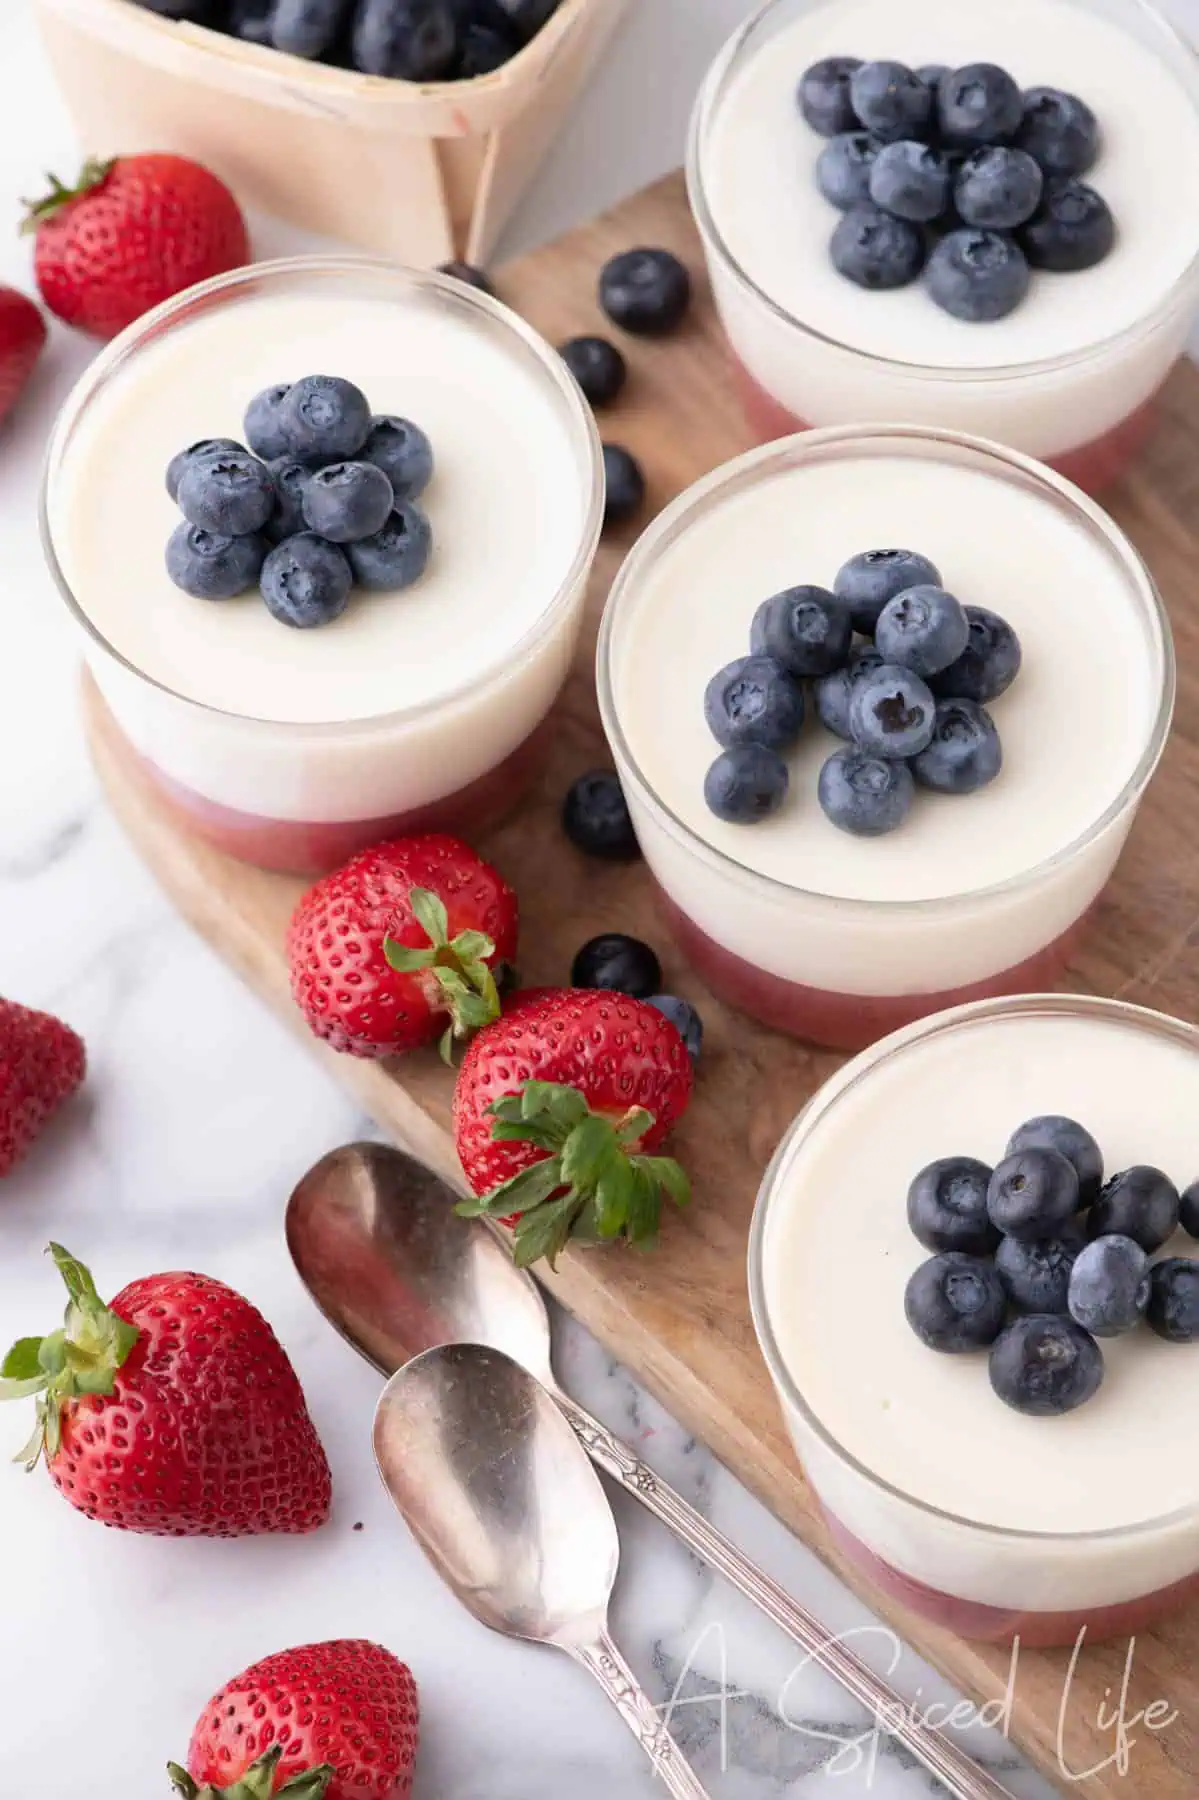
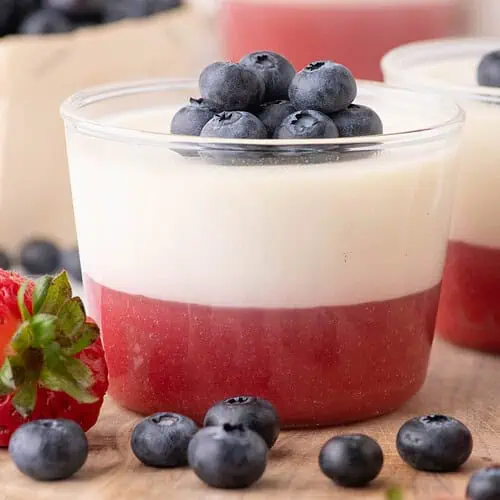
Coconut Panna Cotta with Berry Layers looks elegant but is surprisingly simple to make. This make-ahead summer dessert has a tropical and subtle coconut flavor, a silky panna cotta layer, and natural red, white, and blue colors that fit perfectly into Memorial Day, July 4th, and other summer celebrations, and if you celebrate Canada Day, top with sliced strawberries or raspberries instead!
This recipe has been kitchen-tested to ensure consistent, reliable results.
Good To Know
Prep Time: 20 minutes | Total Time: 4 hours & 25 minutes (includes chill time) | Serves: 4
Can be made up to two days ahead
Equipment Needed: 4 small dessert glasses, blender
Quick Tip: For distinct layers, allow the strawberry layer to fully set before adding the panna cotta
Flavor Profile: Lightly tropical, creamy with a slight tartness from the strawberry purée.
What is Panna Cotta?
Panna cotta is an Italian dessert that translates to ‘cooked cream’. While traditional panna cotta is made with heavy cream, my adaptation, Coconut Panna Cotta, combines coconut milk with heavy cream for a lightly tropical flavor that pairs perfectly with fresh berry layers and summer entertaining.
Why You’ll Love This Coconut Panna Cotta
- Individually sized and no baking required, making it perfect for warm-weather parties.
- Naturally gluten-free panna cotta, which can also be adapted for dairy-free diets.
- Easily double or triple the recipe for large gatherings.
- A beautiful red, white, and blue-themed dessert perfect for Memorial Day or July 4th celebrations. Replace the blueberries with raspberries for Canada Day dessert ideas.
- Make-ahead friendly so it’s easy to prep before parties and entertaining.
- Fresh berries keep this dessert light, refreshing, and not overly sweet.
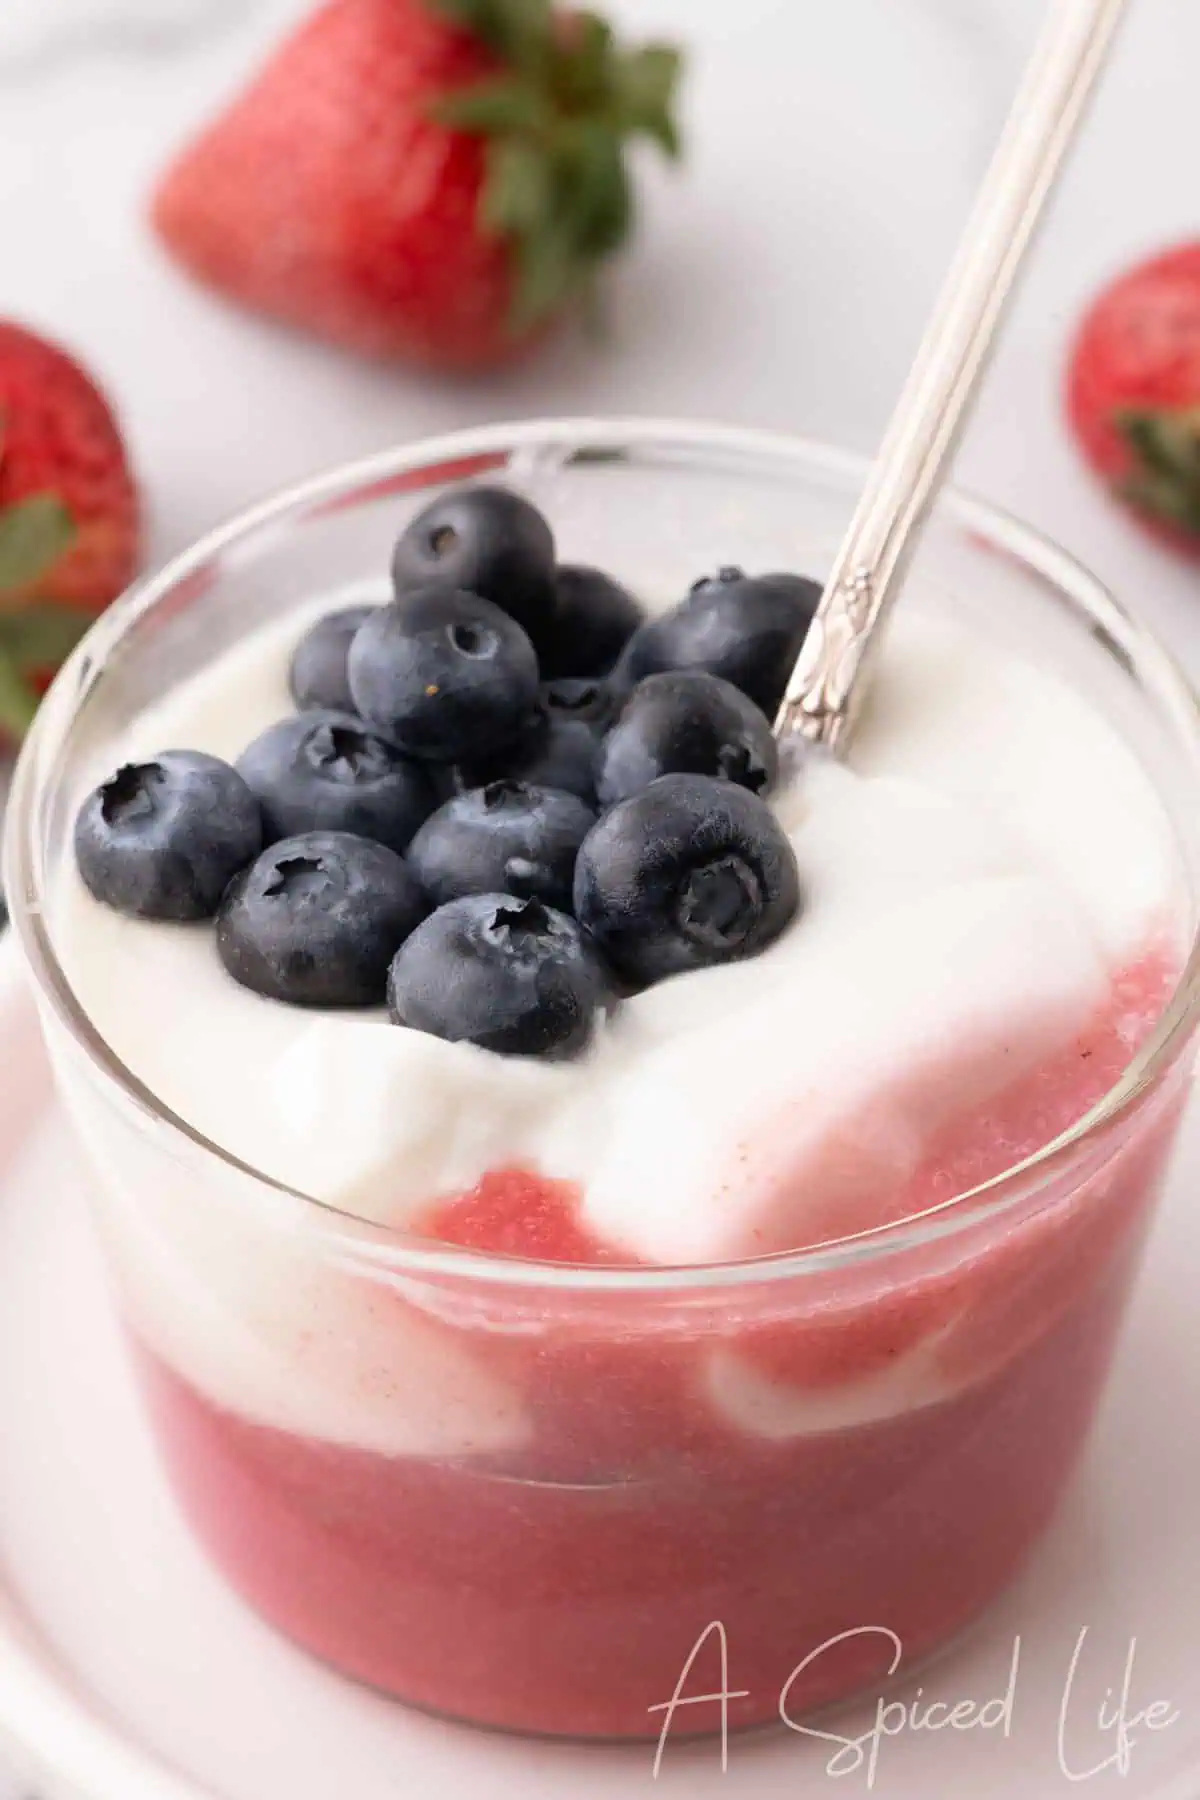
I first made panna cotta for one of our girls’ birthday breakfasts because one of my close friends is gluten-free, and I wanted a dessert everyone at the table could enjoy. In a world where brunches are typically gluten-heavy, this was a fun and unexpected treat to serve.
I love my patriotic take on the natural layers, created without food coloring. It’s so good that I plan on making this Coconut Panna Cotta for future Memorial Day and July 4th celebrations.
Table of Contents
- What is Panna Cotta?
- Why You’ll Love This Coconut Panna Cotta
- Ingredients
- How To Make Coconut Panna Cotta with Berry Layers
- Substitutions & Variations
- Why Didn’t My Panna Cotta Set?
- How Do You Prevent the Panna Cotta Layers From Blending Together?
- Panna cotta vs. Crème brûlée
- Expert Tips
- Recipe Testing Notes (What Worked Best)
- Make Ahead and Storage Info
- Recipe FAQs
- Delicious Starts Here
Ingredients
Refer to the printable recipe card below for ingredient quantities and detailed instructions.
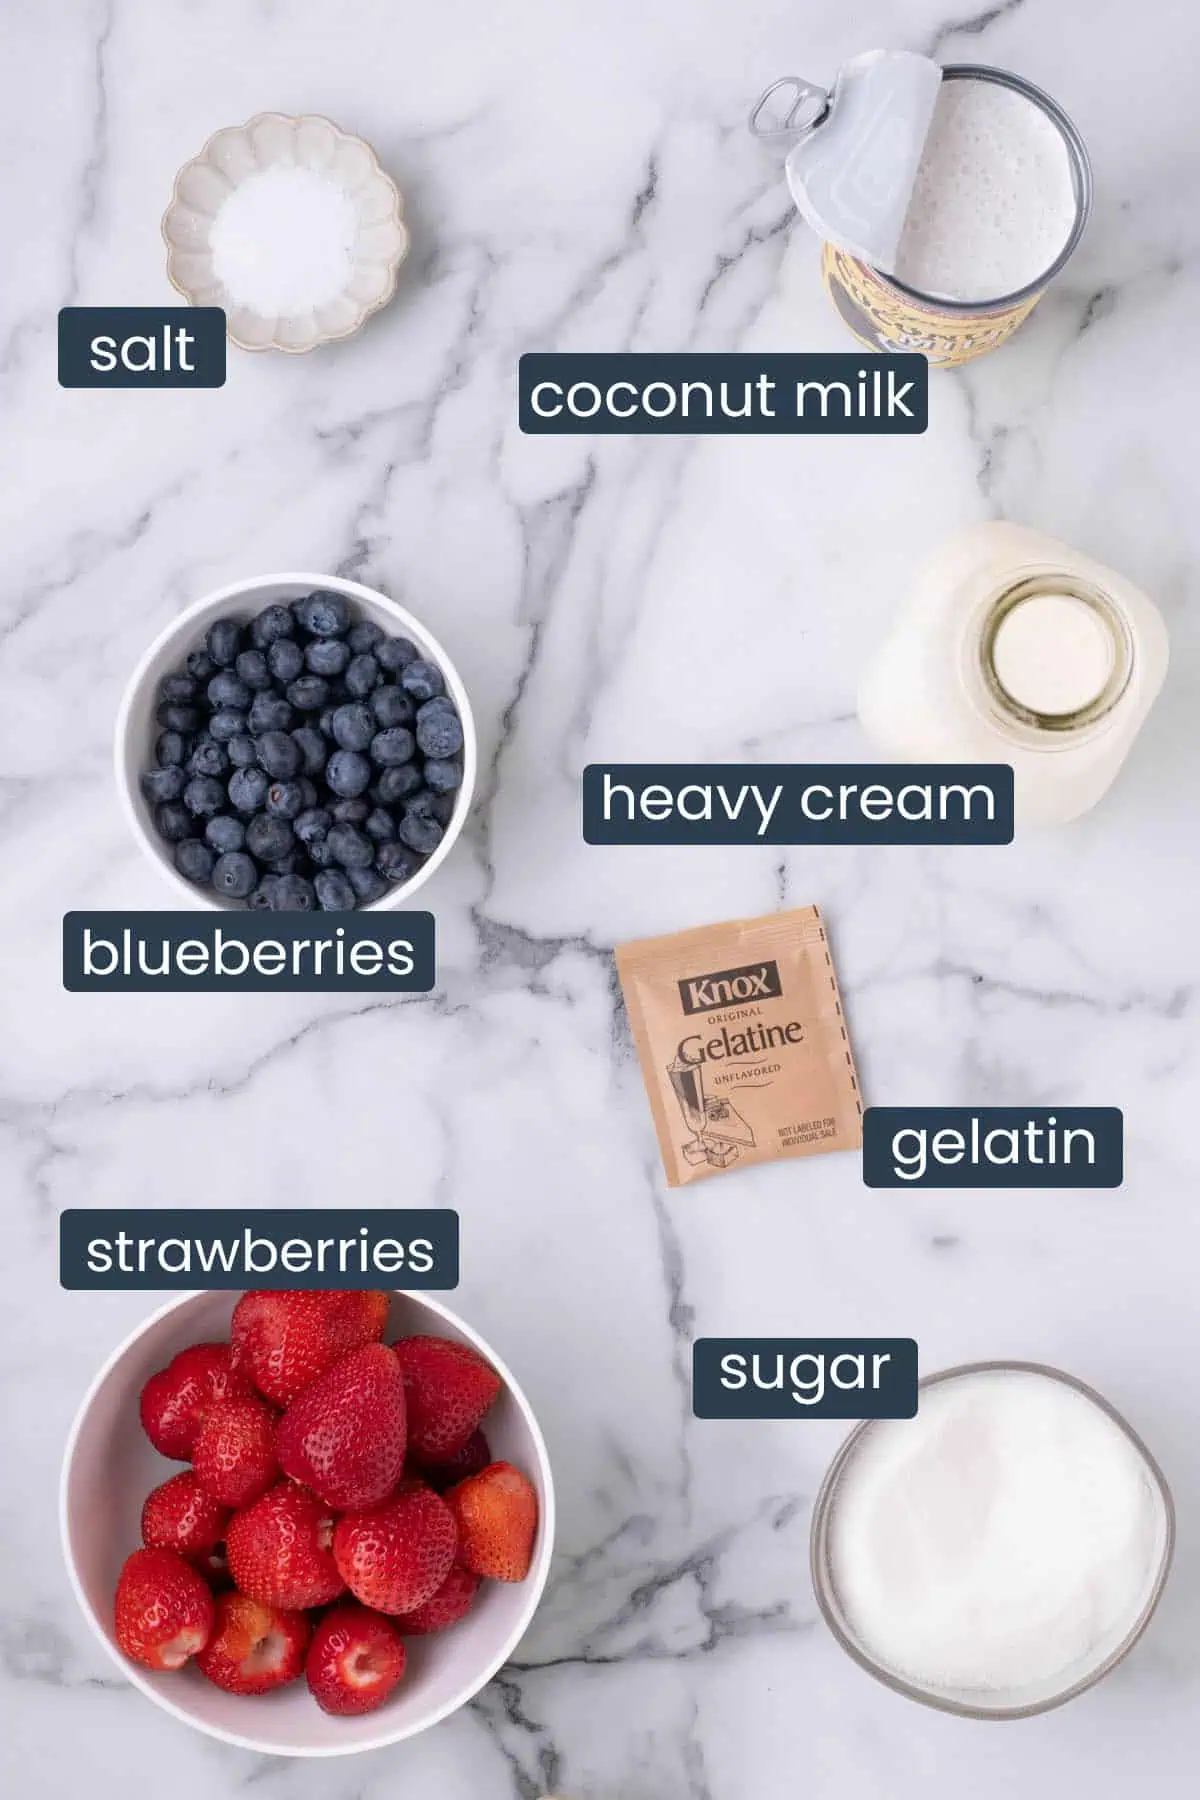
- Strawberries: Fresh strawberries are preferred over frozen ones, which retain too much water, making it difficult to thicken the purée.
- Fresh blueberries: You can also top this panna cotta with any fresh fruit of your choice. The blueberries complete the red, white, and blue summer presentation, but feel free to top with raspberries or strawberries for Canada Day dessert ideas.
- Coconut milk: Use only full-fat coconut milk, not coconut cream, as it has a slight grey tint to it.
- Heavy Cream: Mixed with coconut milk to keep the coconut flavor balanced and prevent it from overpowering the dessert.
- Gelatin: is used both in the strawberry puree and the panna cotta to help set the layers
- Sugar: lightly sweetened so you can taste the coconut and panna cotta without overpowering the fresh fruit flavors.
- Salt: A small pinch helps balance the sweetness and heighten the strawberry flavors.
How To Make Coconut Panna Cotta with Berry Layers
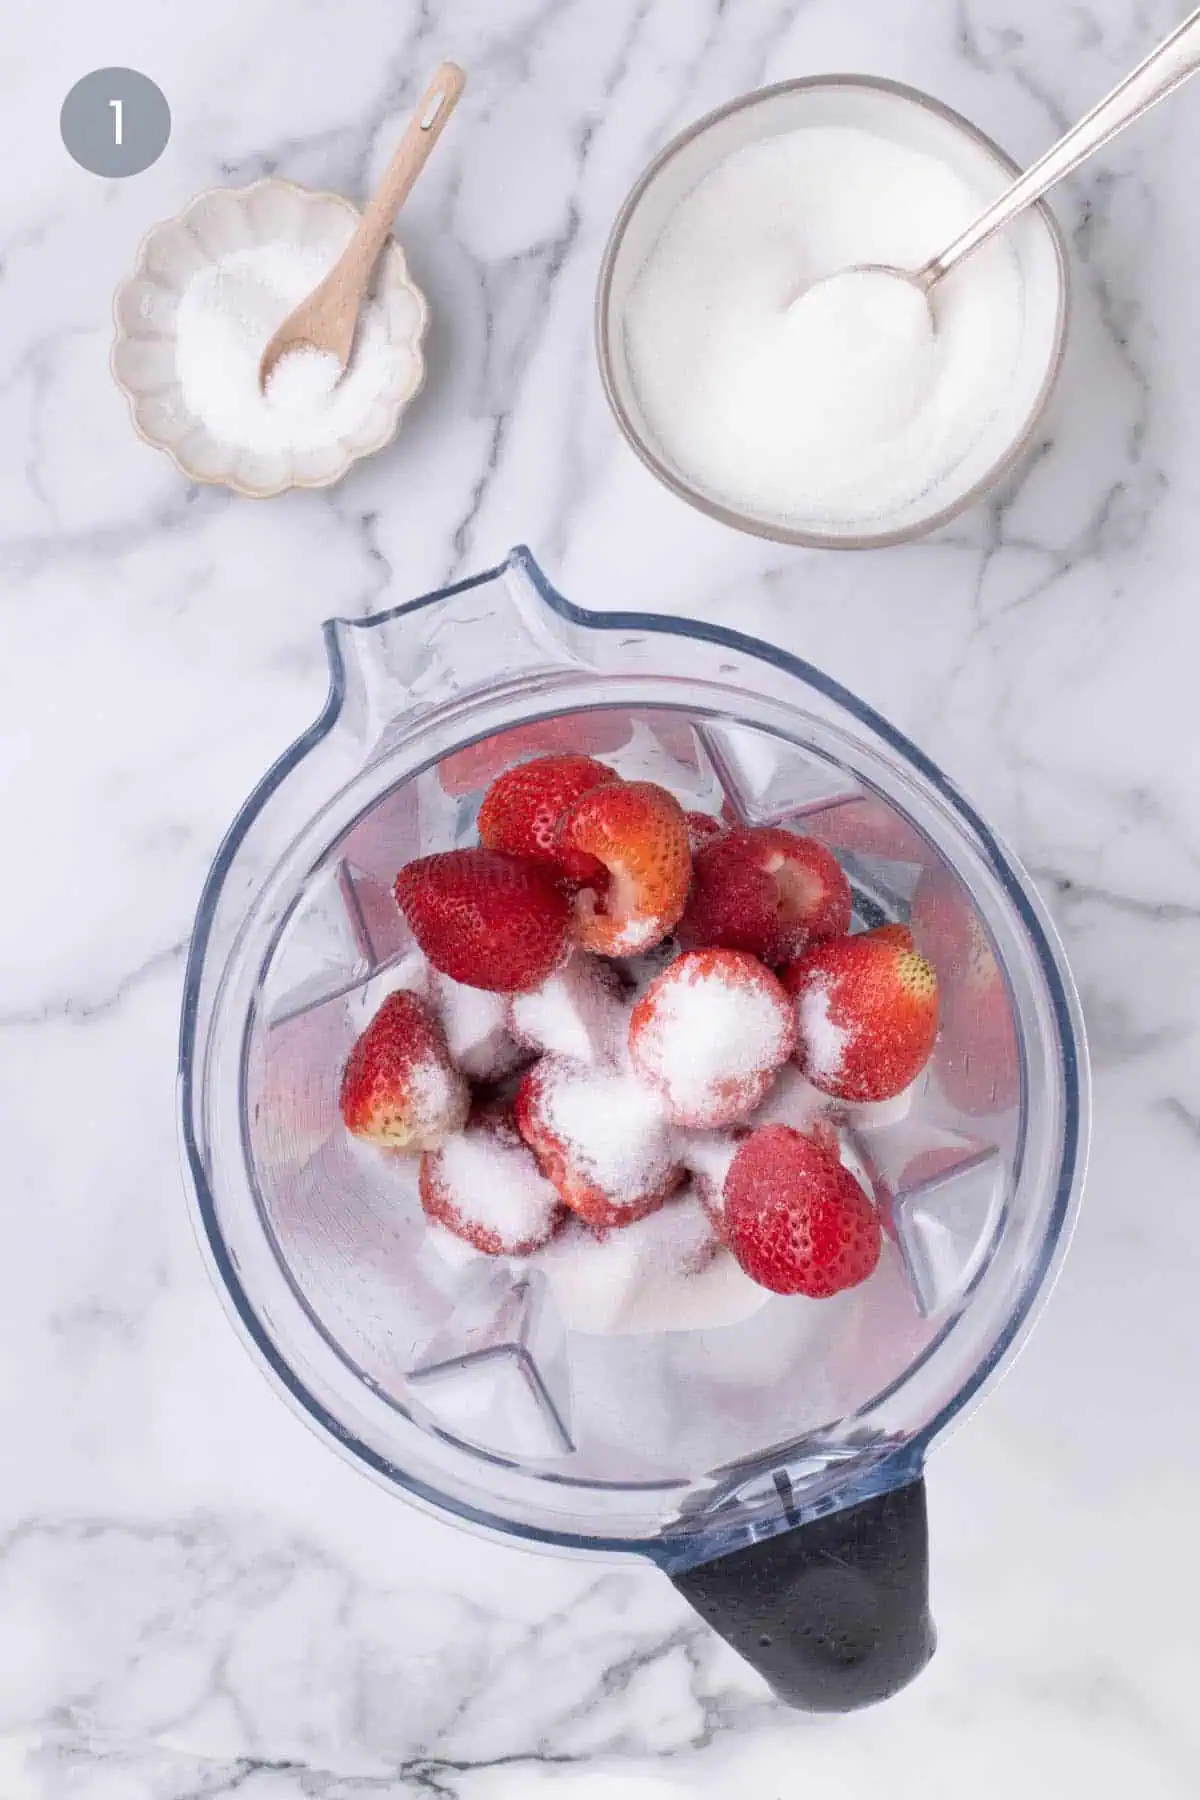
1. Blend the strawberries, sugar, and salt until completely smooth.
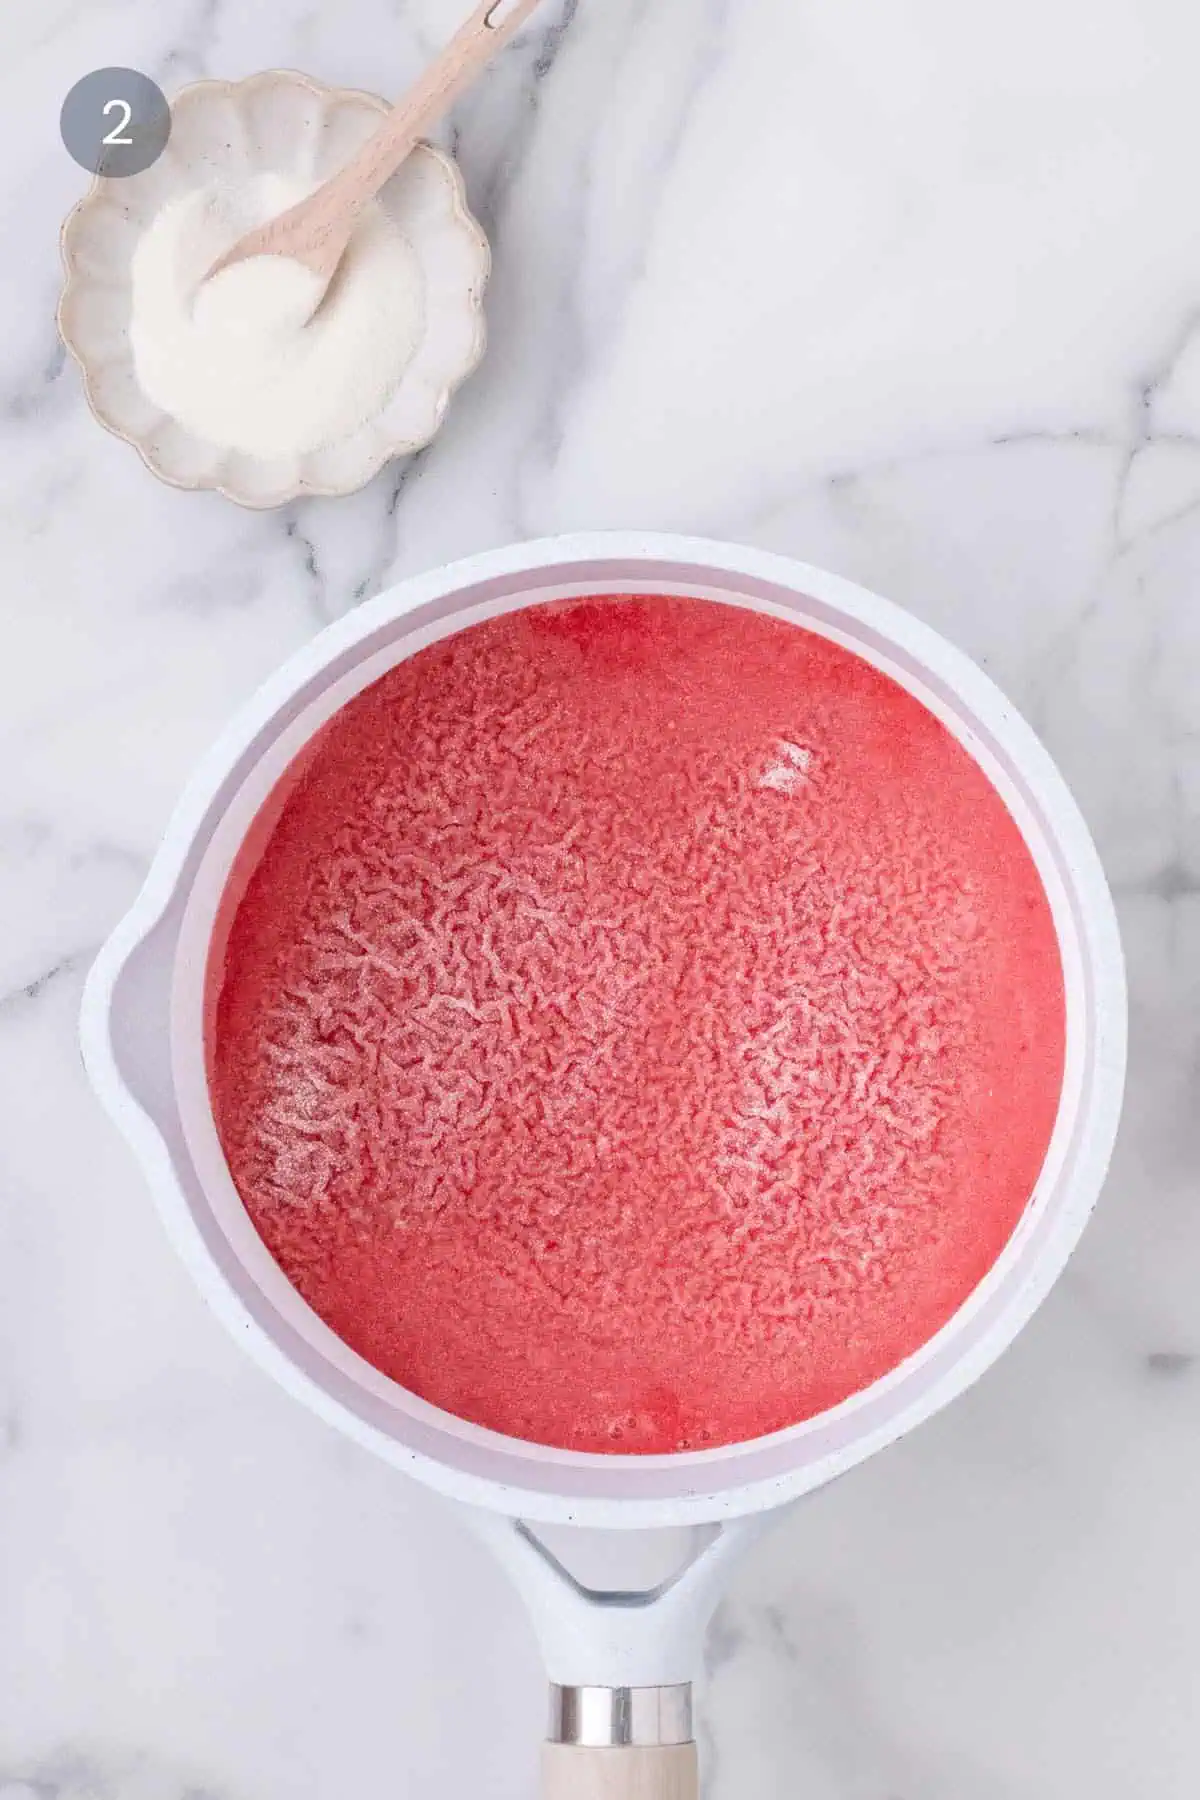
2. In a saucepan, sprinkle the gelatin over the strawberry purée and let it hydrate.
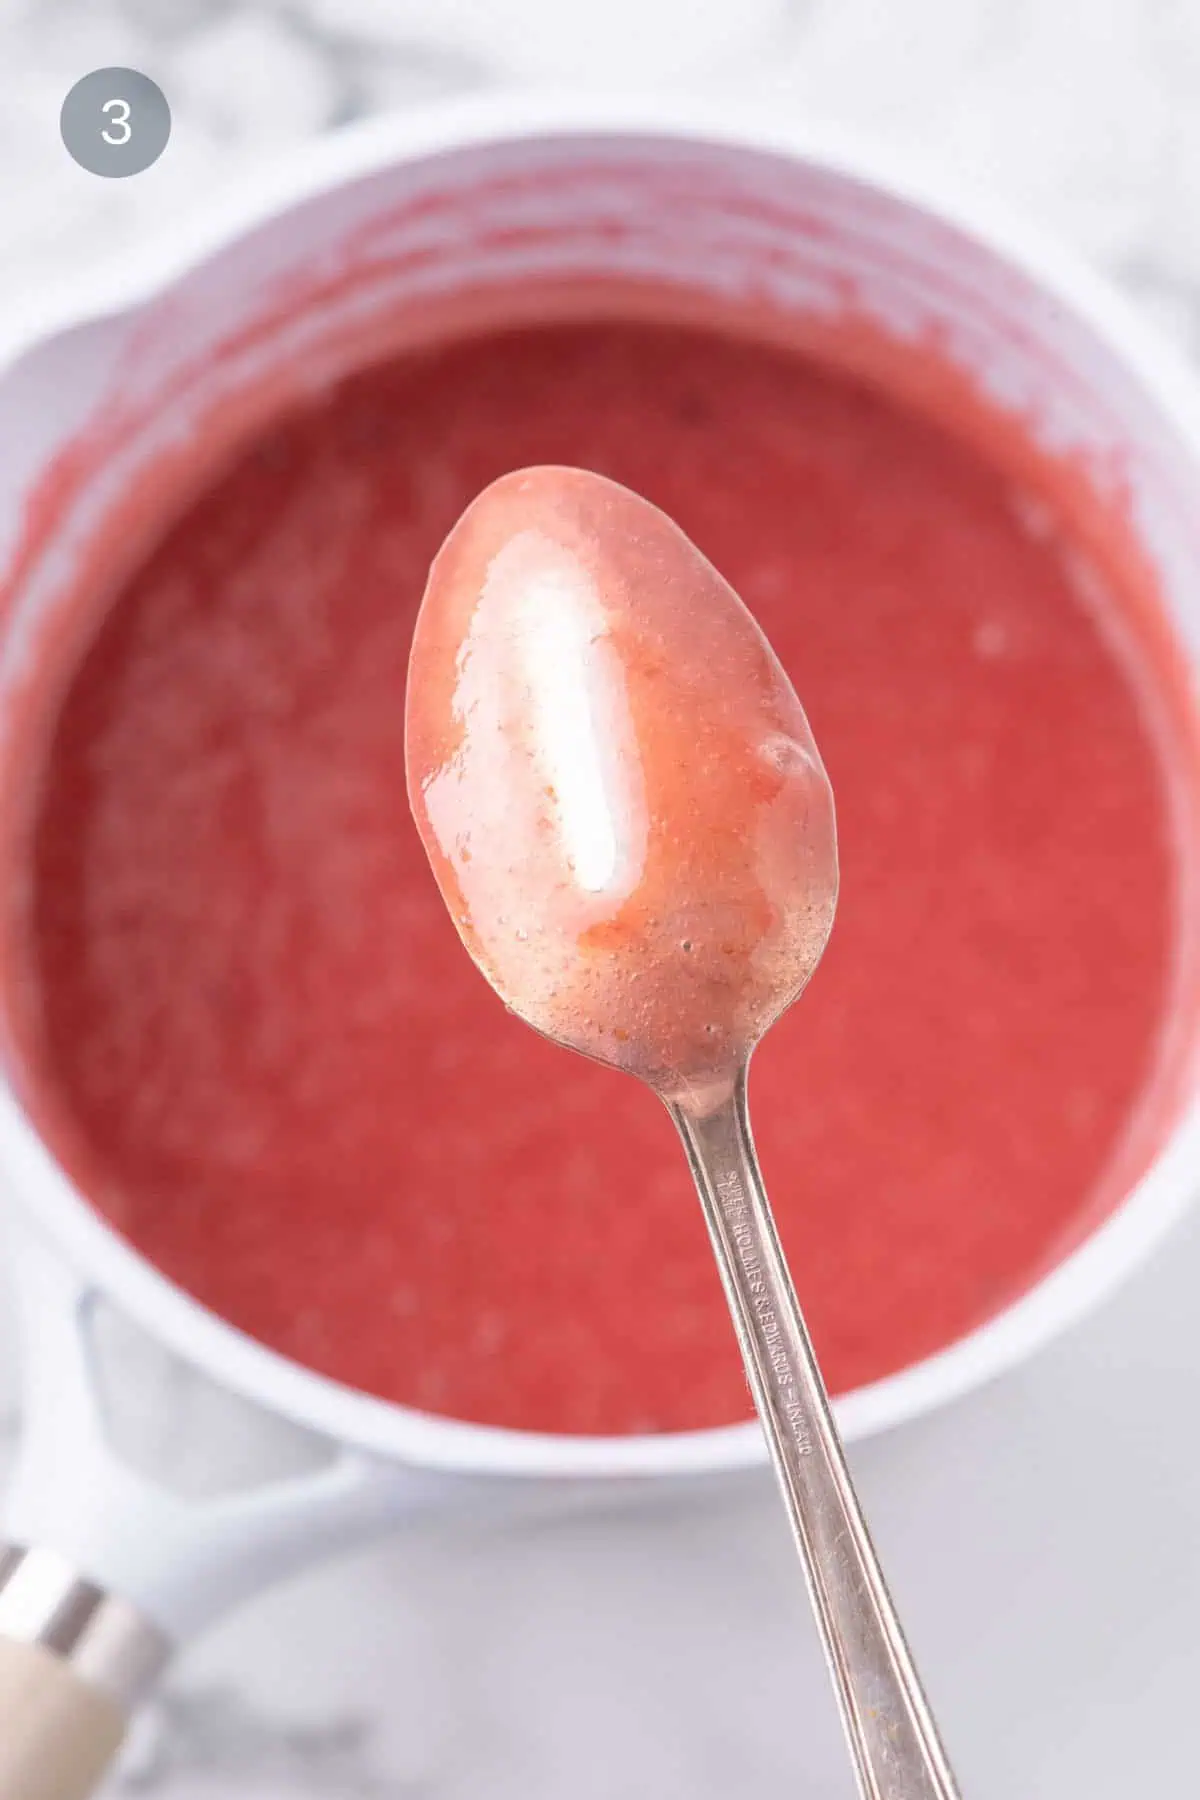
3. Cook to dissolve the sugar and gelatin. The thickened purée is ready when it coats the back of a spoon.
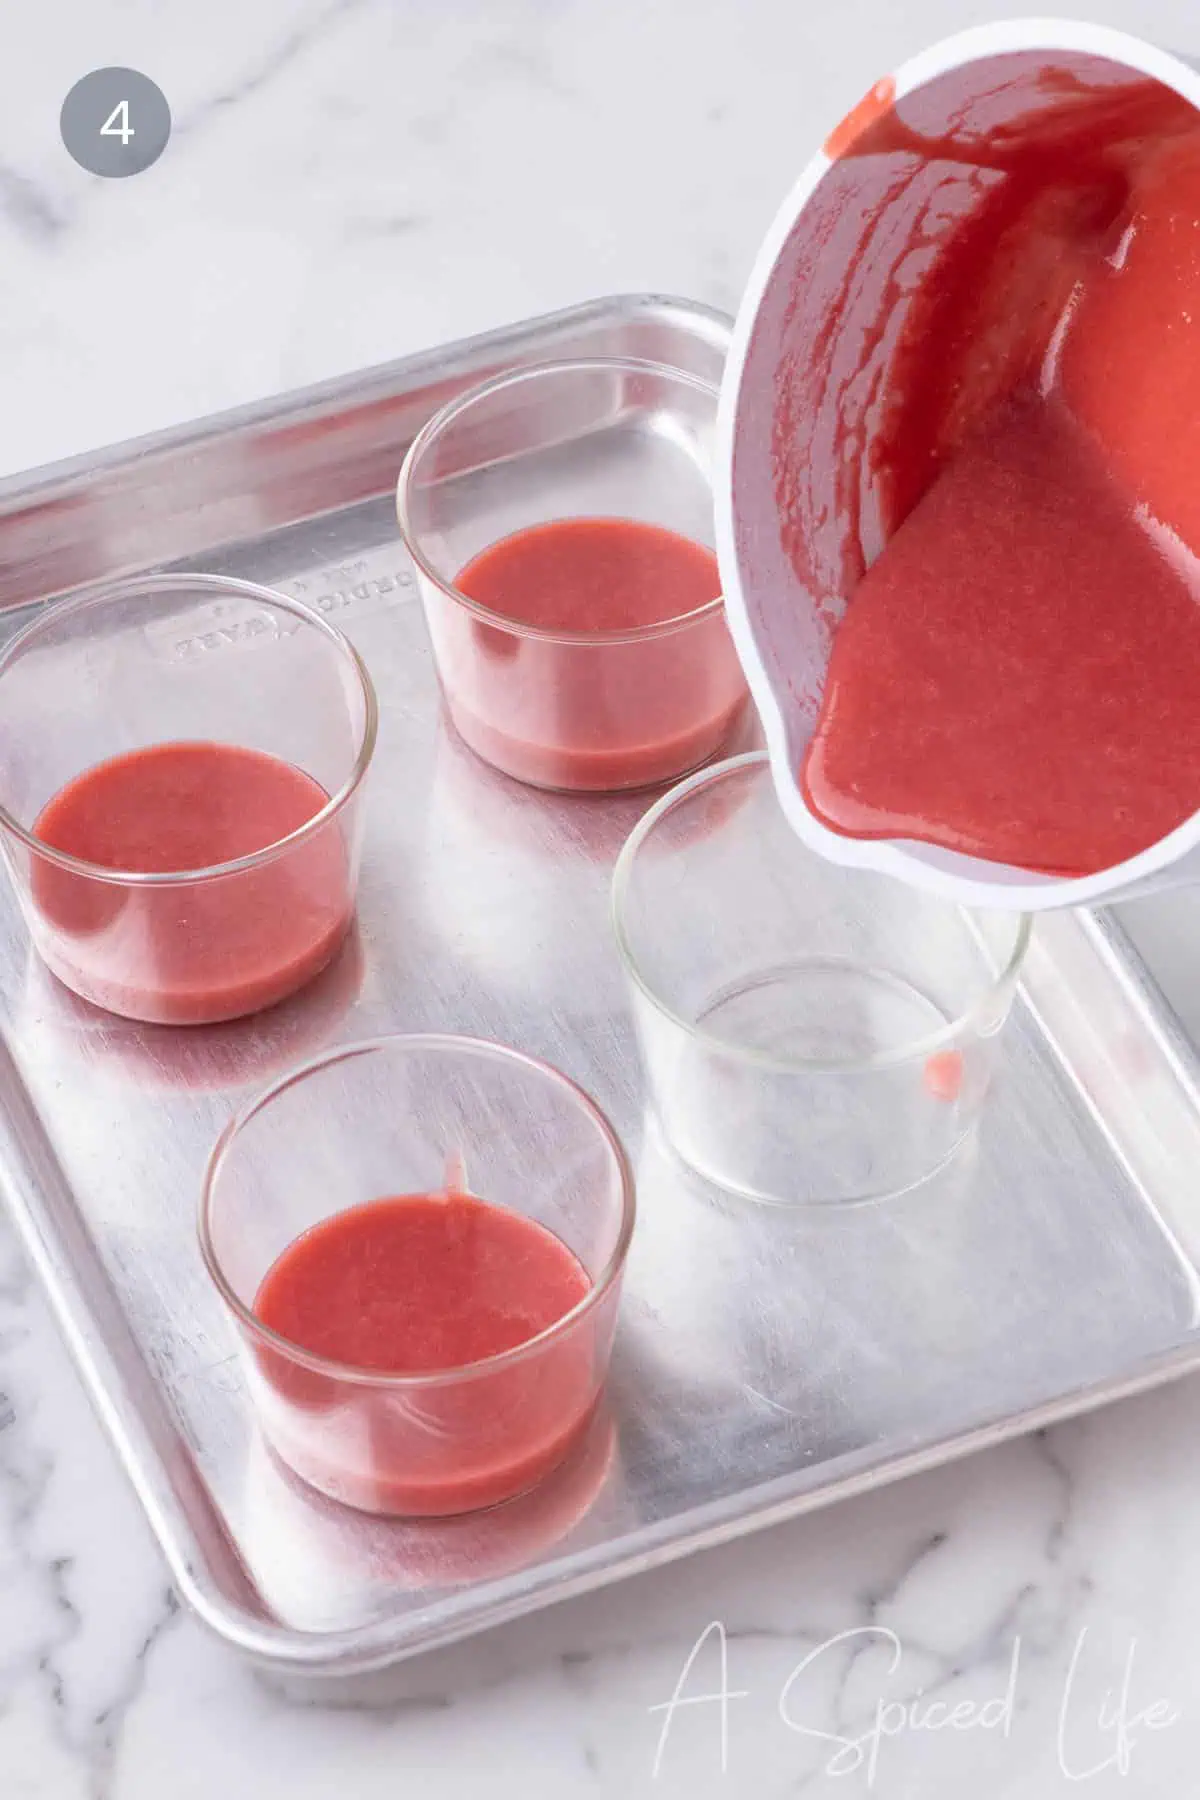
4. Divide the strawberry layer evenly between the serving glasses.
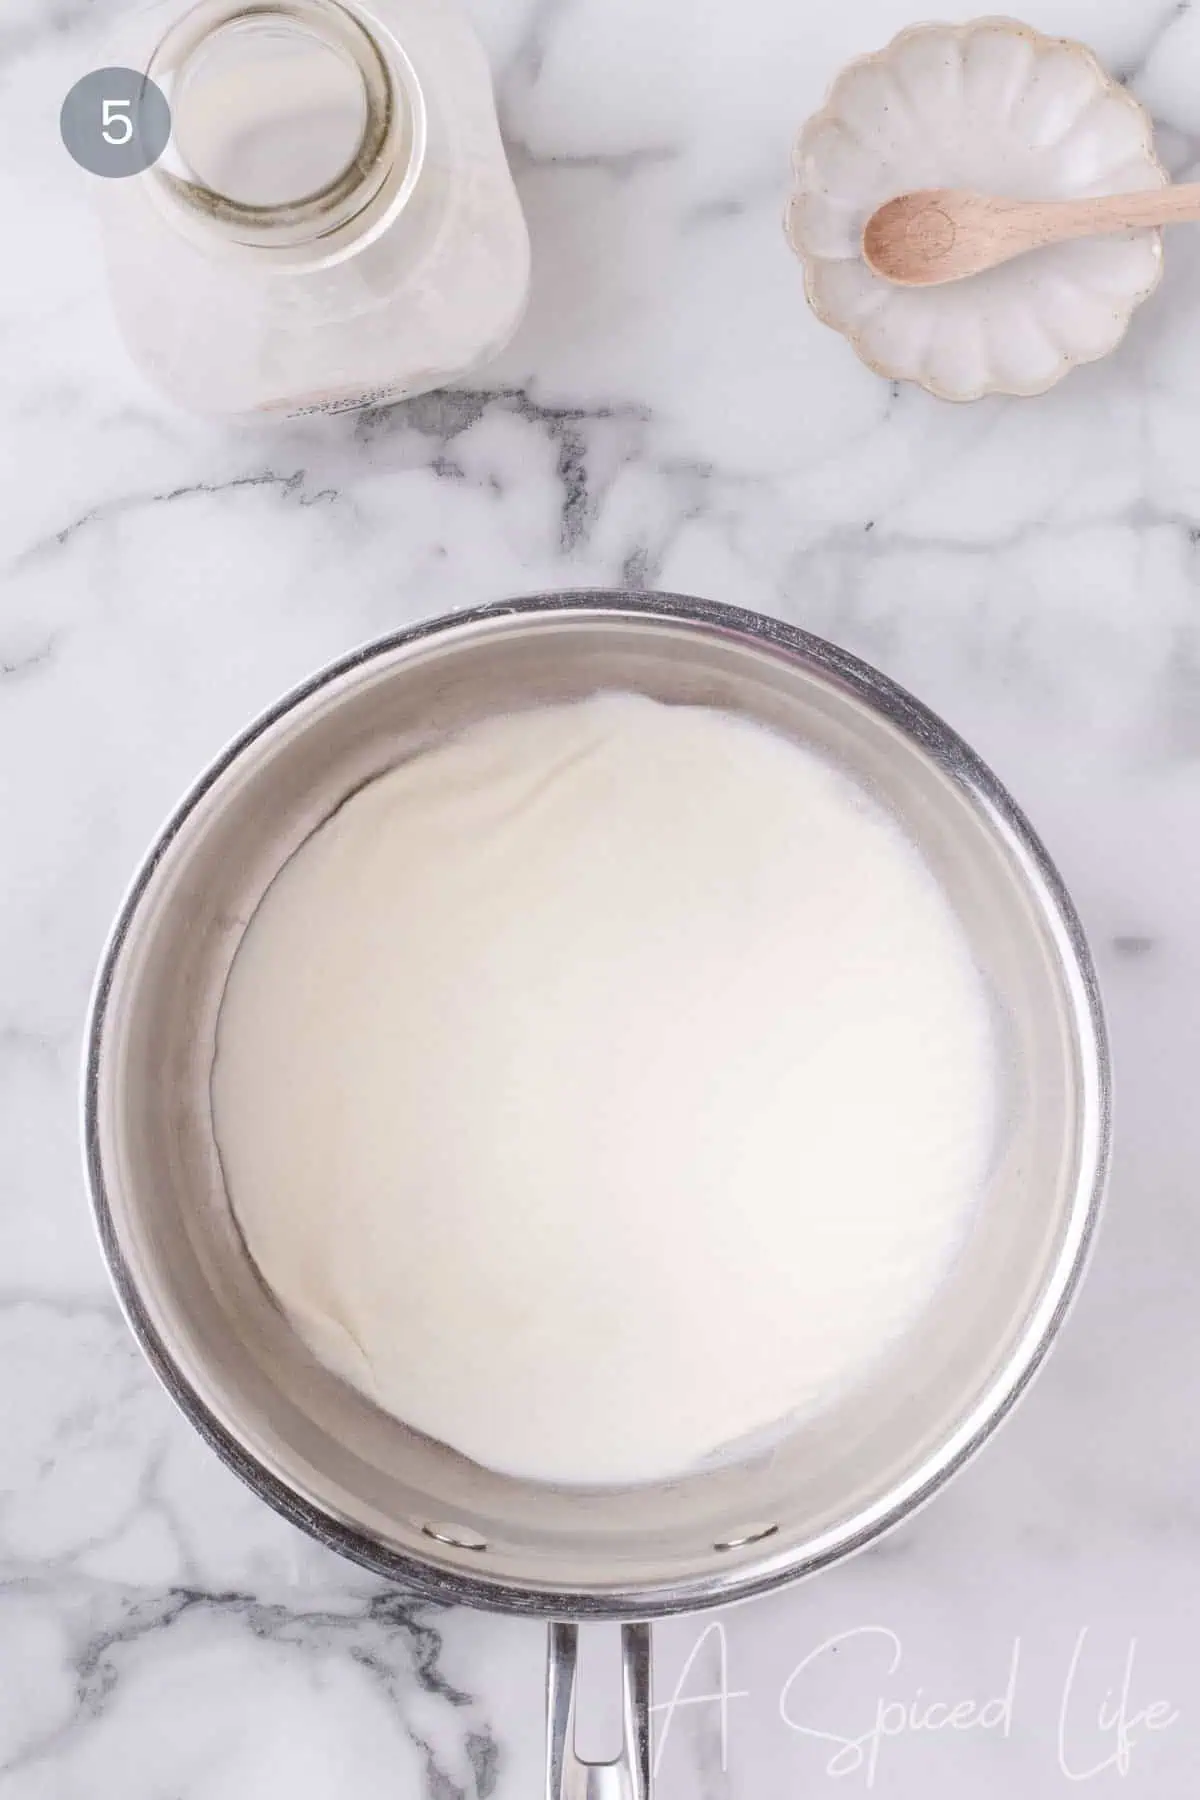
5. Sprinkle the remaining gelatin evenly over the heavy cream and allow it to hydrate.
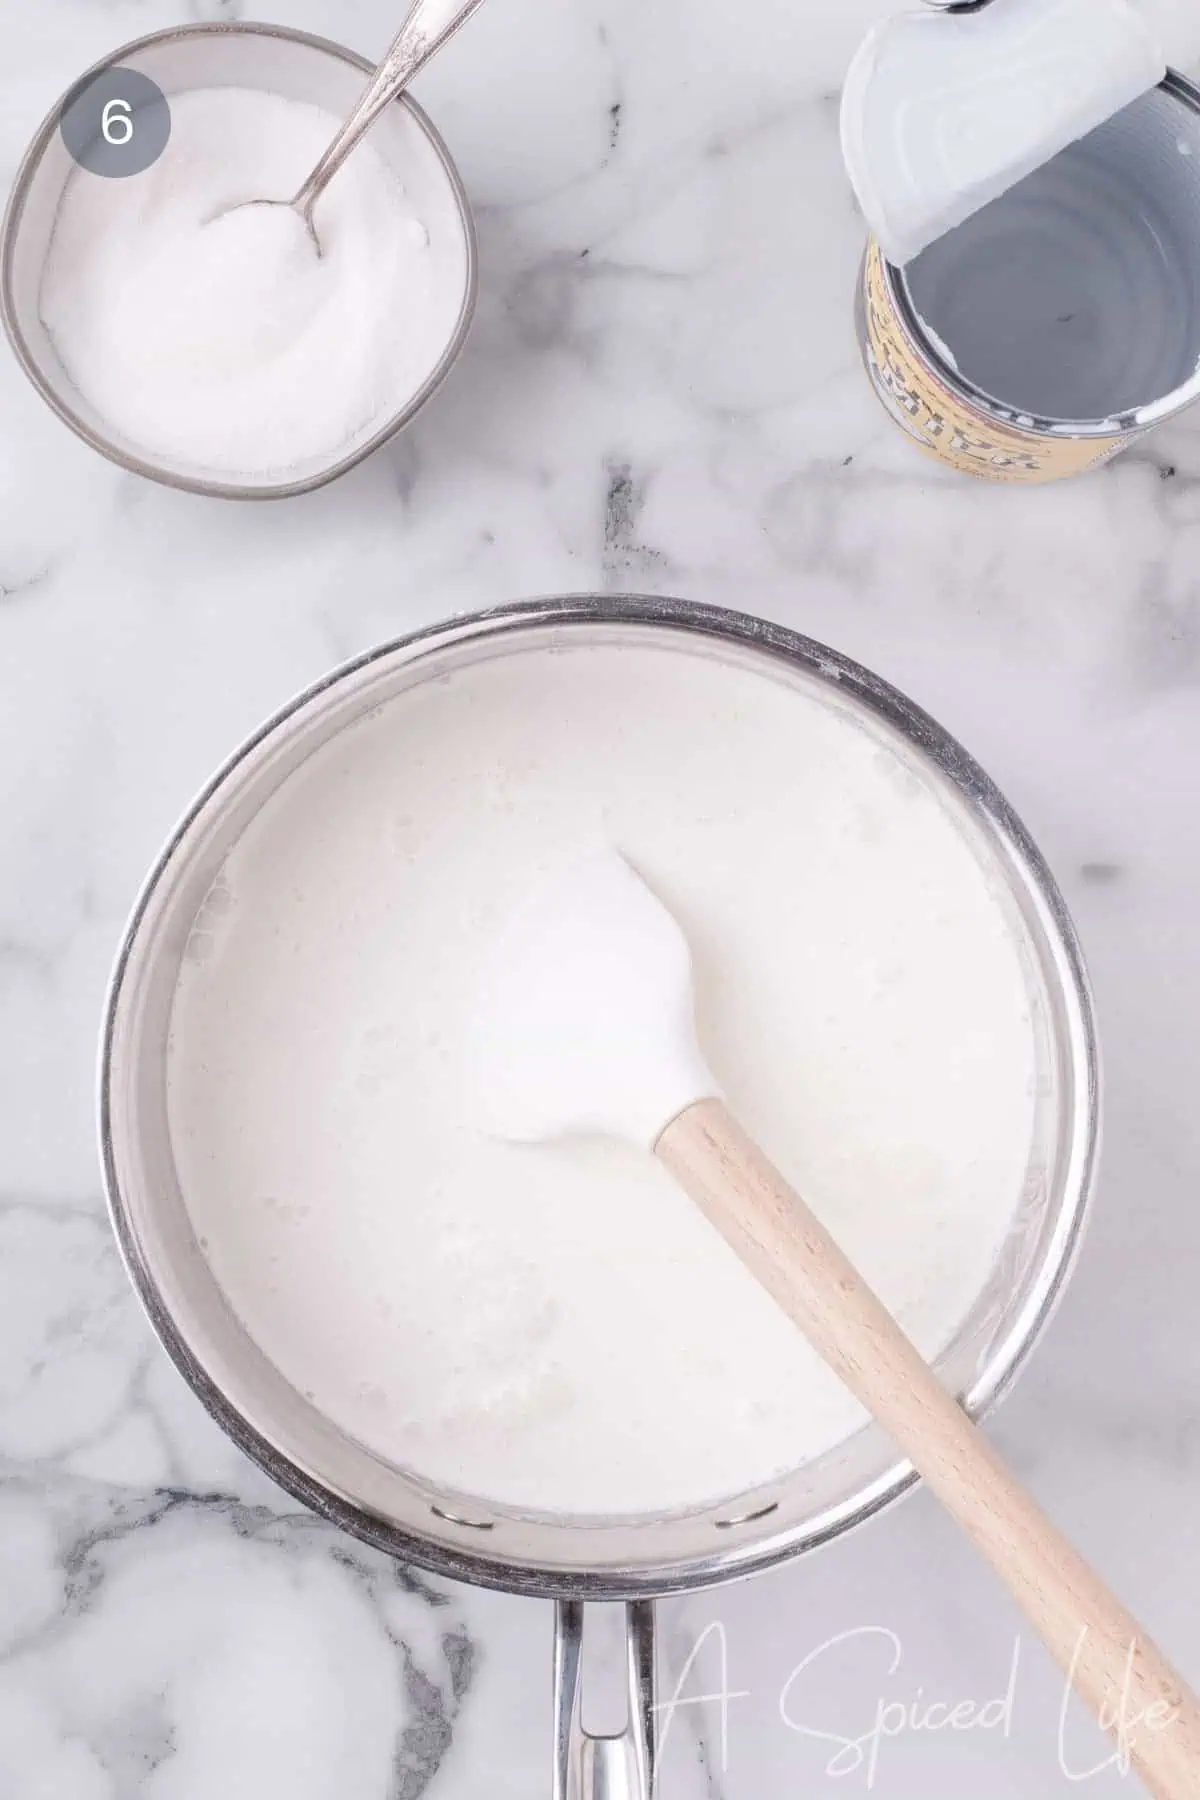
6. Stir in the coconut milk and sugar and cook until smooth.
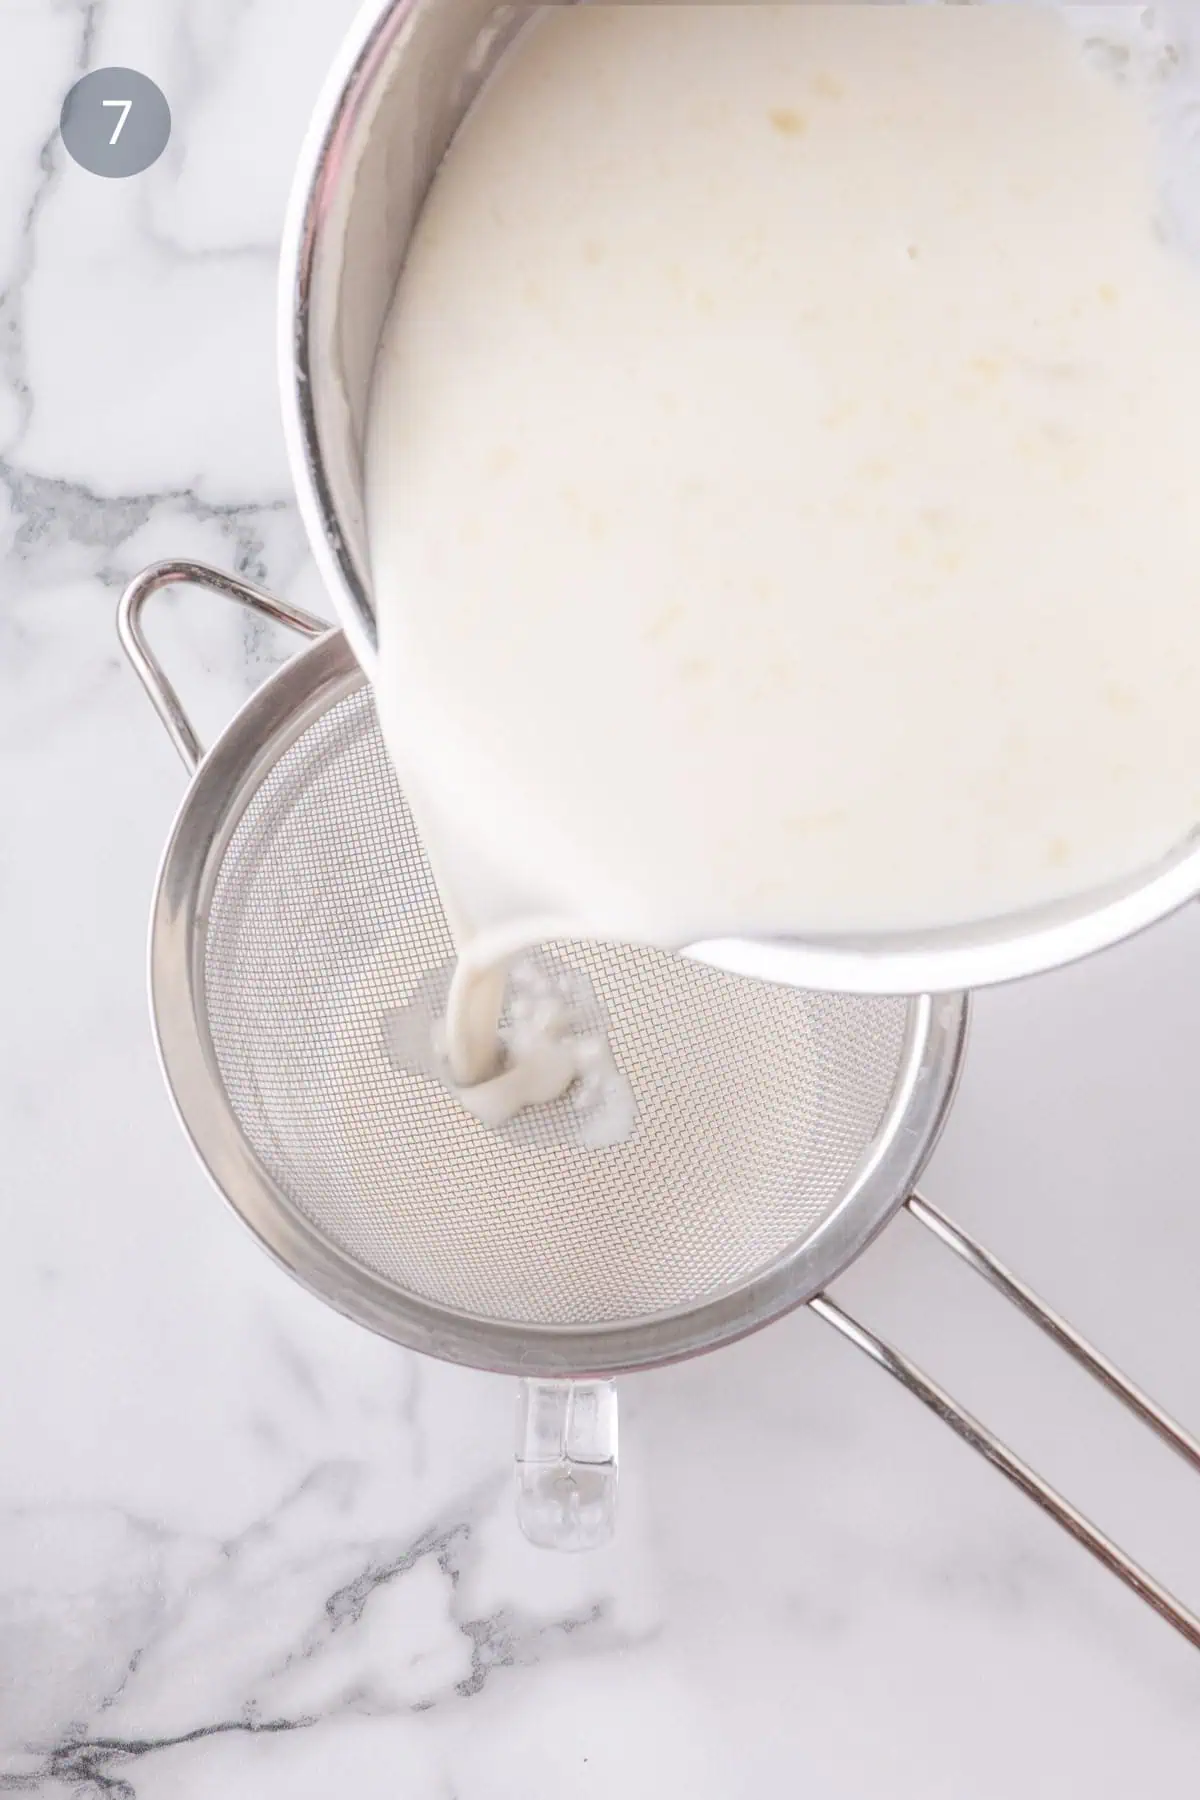
7. Strain the panna cotta mixture to remove any clumps.
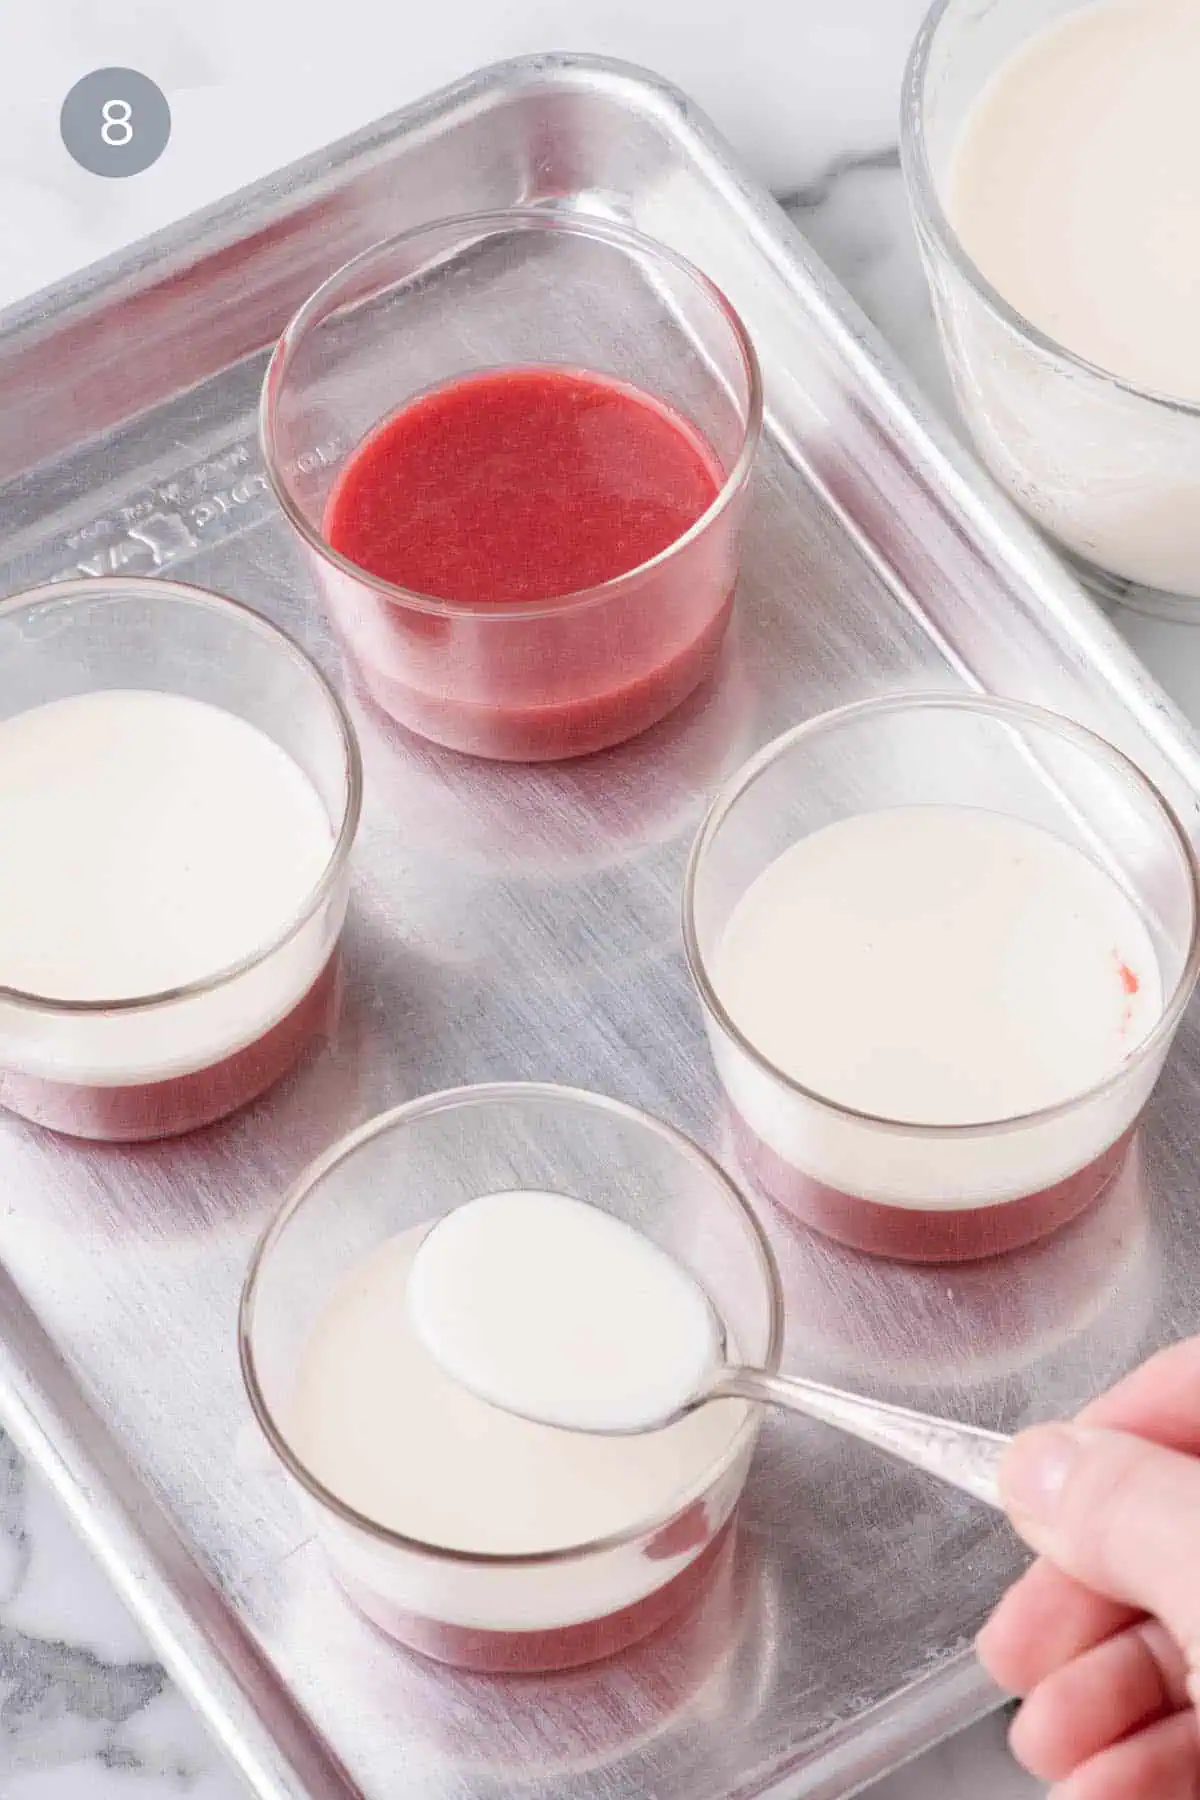
8. Spoon a small amount of chilled panna cotta over the berry layer before slowly filling the glasses.
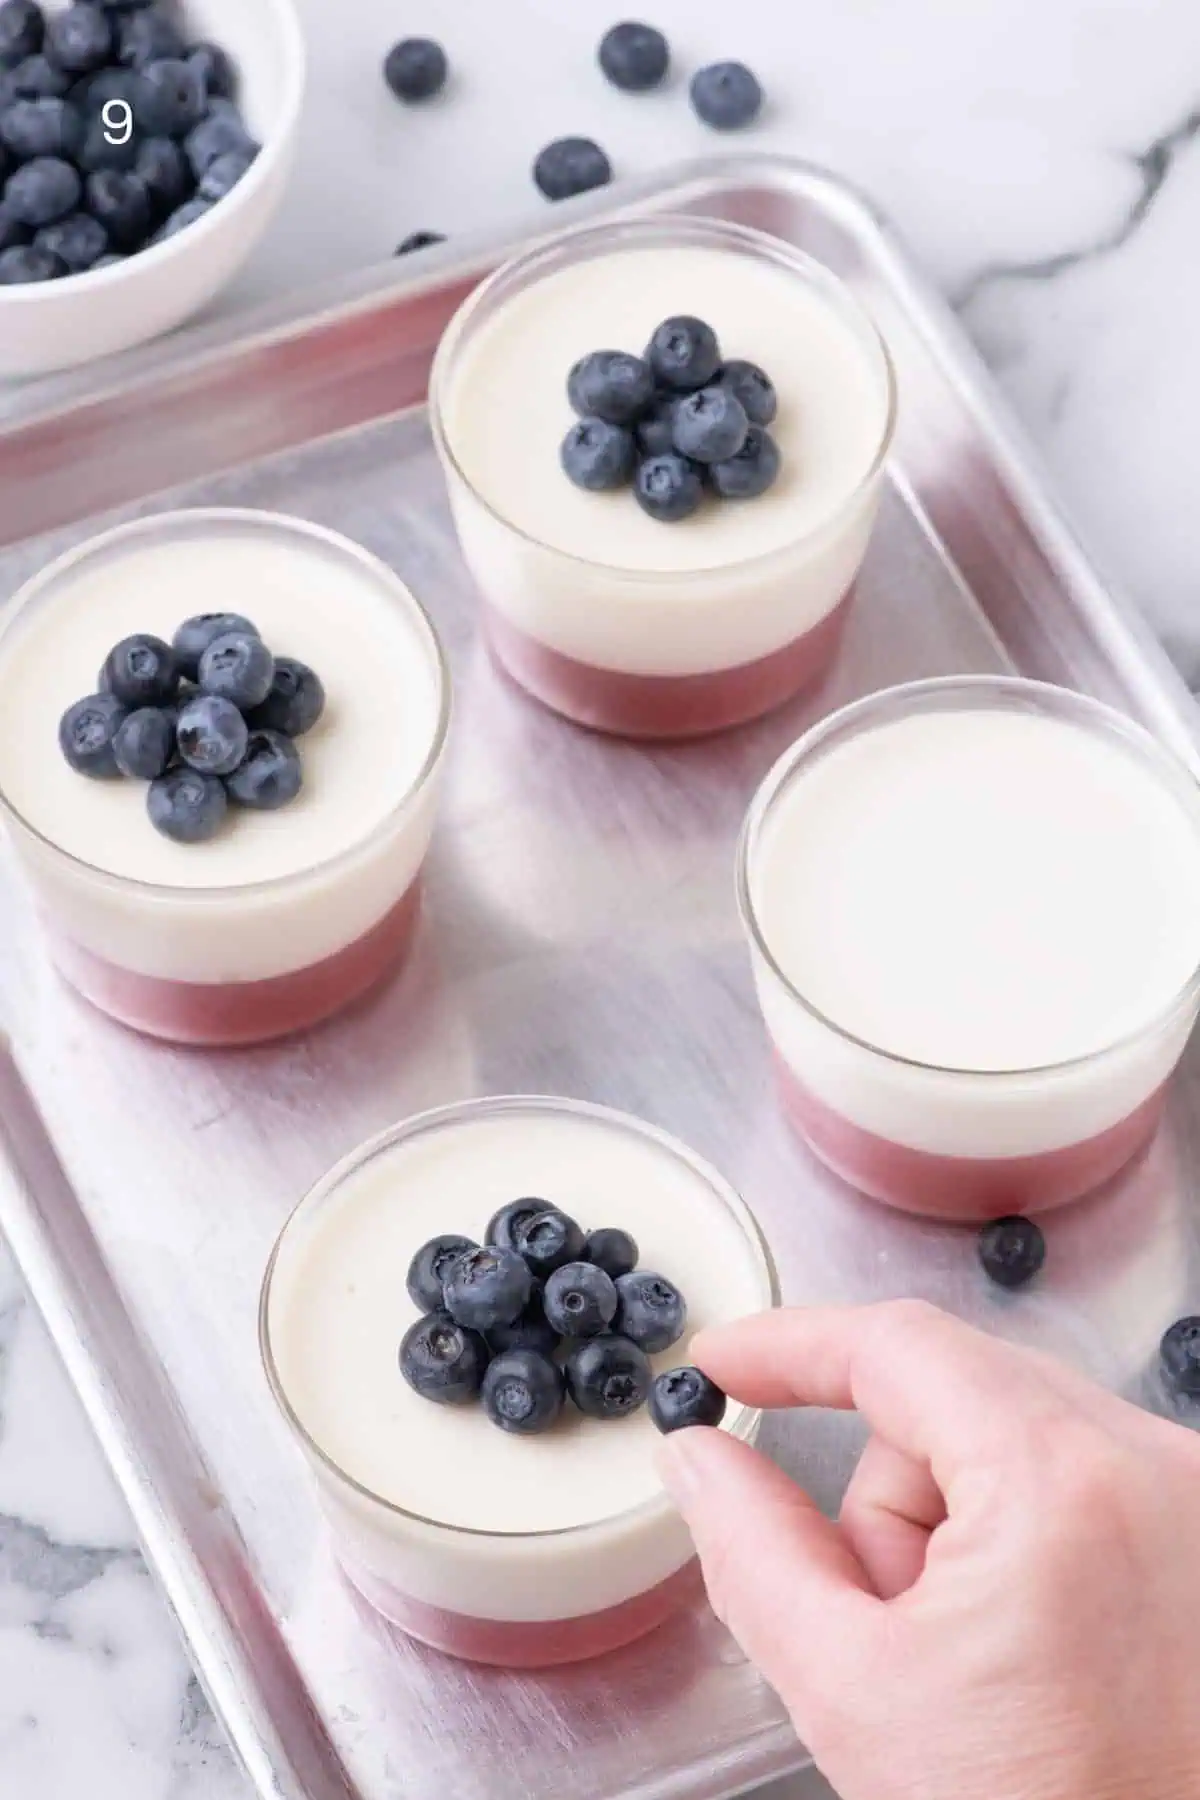
9. After 3 hours, top the set panna cotta with fresh blueberries just before serving.
Substitutions & Variations
- For those with dietary restrictions, make dairy-free panna cotta by replacing the heavy cream with the same amount of coconut milk (in addition to the coconut milk already listed).
- Some people like to include it earlier on in their post
- Not every header needs to have the keyword in it, aim for 2 titles to incorporate keywords into.

Join my newsletter!
Subscribe and get a new recipe each week + my bonus guide: ‘5 Easy Baking Tips That Will Change the Way You Bake. Forever’……. Because Delicious Starts Here.
Why Didn’t My Panna Cotta Set?
Panna cotta usually does not set properly if the gelatin was overheated, not properly bloomed (hydrated), or if the dessert did not chill long enough. Blooming (or hydrating) the gelatin in cold liquid before adding it to the warm cream mixture helps create a smooth, stable texture. If the gelatin is heated before it has fully hydrated, small clumps can form instead of dissolving evenly into the mixture. This can leave you with bits of hardened gelatin and a thinner panna cotta base that may not properly set once chilled.
A properly set panna cotta should feel softly set with a gentle wobble once fully chilled.
How Do You Prevent the Panna Cotta Layers From Blending Together?
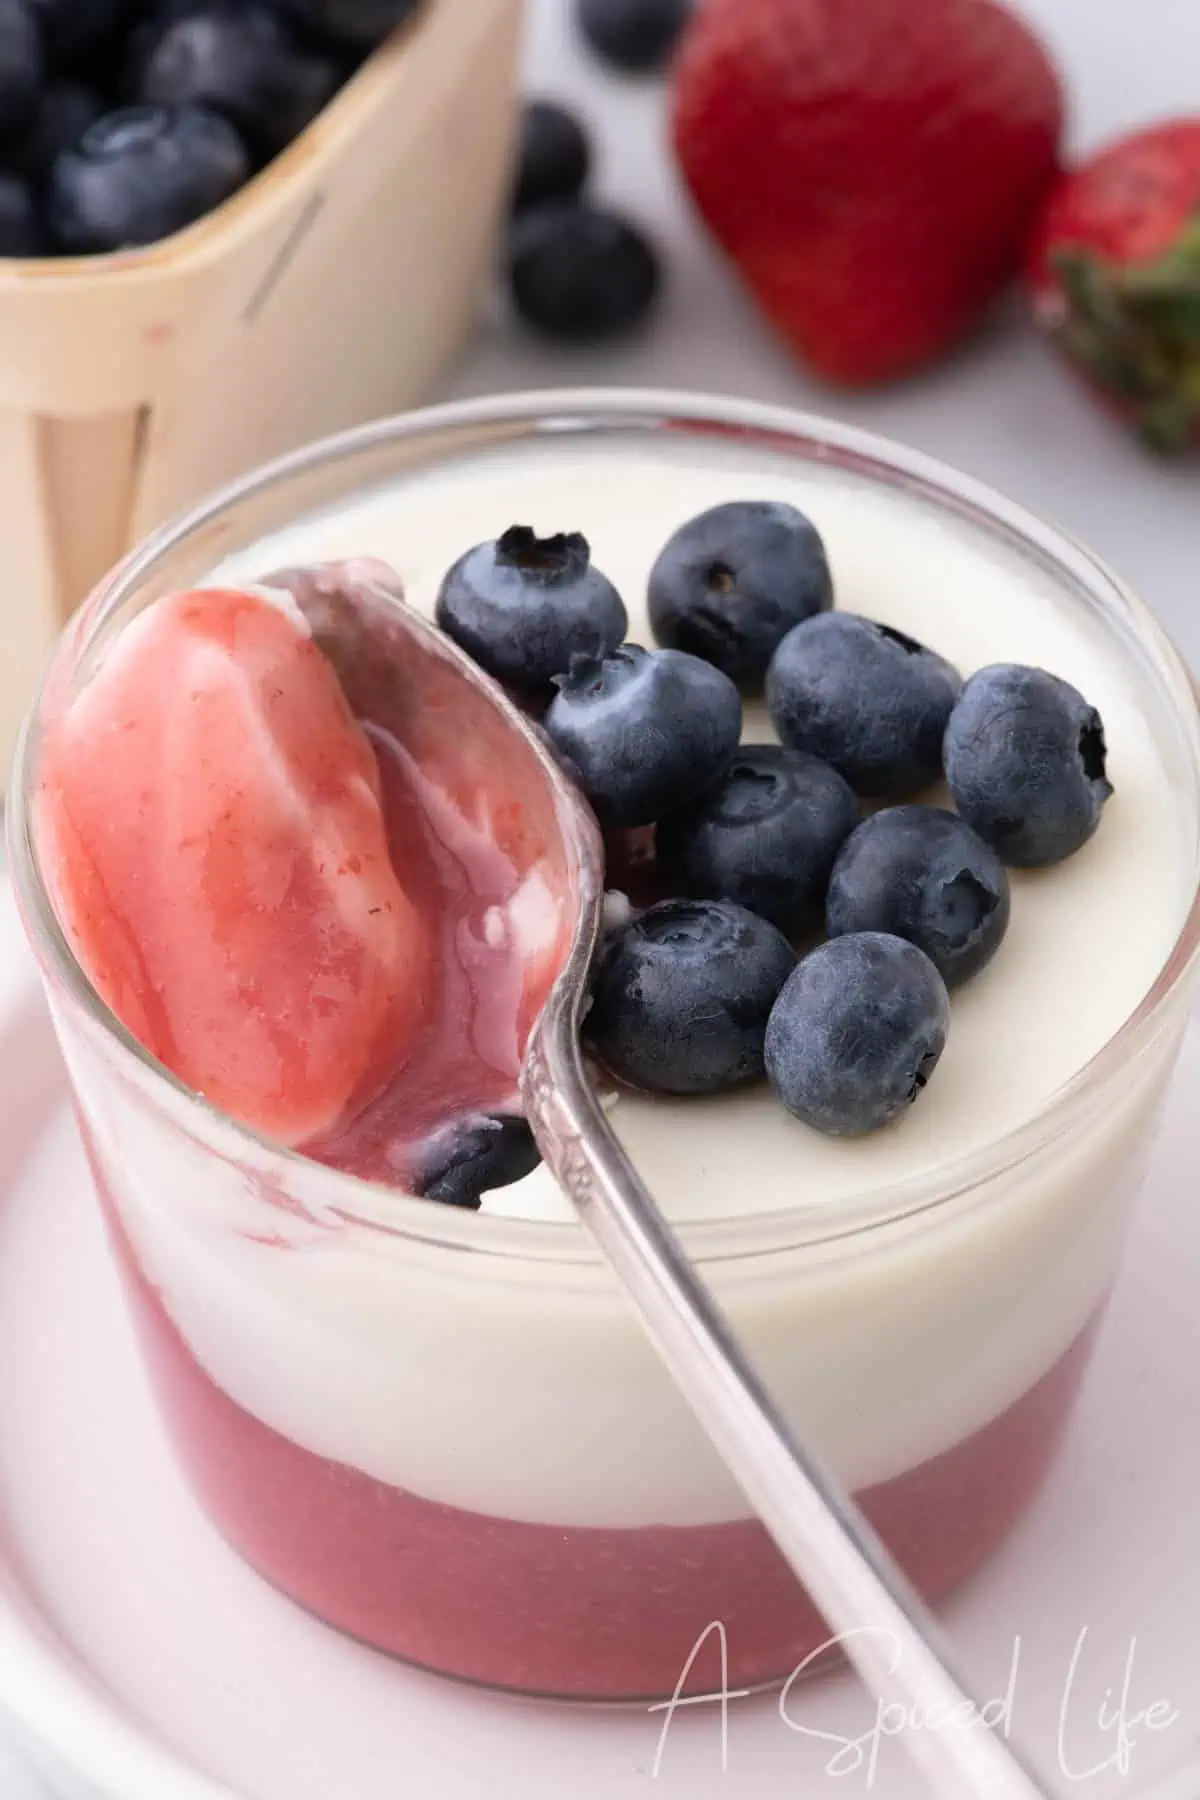
To keep panna cotta layers clean and distinct, allow the strawberry layer to fully set before pouring the panna cotta on top. The strawberry layer should feel softly set and remain still when the glass is gently tilted. Allow the panna cotta mixture to cool slightly before pouring so the heat does not soften the layer underneath.
It also helps to avoid pouring the panna cotta directly onto the strawberry layer all at once. Instead, gently spoon a small amount over the top first to create a light buffer layer. After that initial layer is in place, slowly add the remaining panna cotta or pour it over the back of a spoon to soften the flow. This helps reduce pressure on the strawberry layer and keeps the layers clean and well-defined.
Panna cotta vs. Crème brûlée
While both desserts are creamy and elegant, panna cotta is thickened with gelatin and chilled until set, while crème brûlée is a baked custard thickened with egg yolks and topped with caramelized sugar. This coconut panna cotta has a lighter, silkier texture that works especially well for warm-weather desserts.
Expert Tips
- Fully set the strawberry layer before adding the panna cotta so the layers stay clean and distinct.
- Let the panna cotta cool slightly before pouring to prevent the strawberry layer from softening.
- Spoon a small amount of panna cotta over the strawberry layer first before slowly adding the remaining mixture.
- Pouring the panna cotta slowly over the back of a spoon disperses the liquid gently and reduces pressure on the strawberry layer.
Recipe Testing Notes (What Worked Best)
I made two versions of this recipe to make sure to get the layers just right. Here is what I learned.
- I originally tested this recipe with less gelatin for a softer panna cotta, but the layers did not hold as cleanly and the dessert felt too loose (even after allowing it to set overnight).
- Increasing the gelatin in both the strawberry purée and the panna cotta created a more stable layered dessert while maintaining a smooth, creamy consistency.
- I also tested this recipe using coconut cream, but unlike coconut milk, it gave the panna cotta a grey tinge that affected the clean white appearance of the layers.
- To avoid disturbing the strawberry layer, I tried both methods for adding the liquid panna cotta. In one glass, I spooned the panna cotta liquid directly over the strawberry layer. In another, I slowly poured the panna cotta over the back of a spoon to soften the flow and reduce pressure on the strawberry layer underneath. Both methods worked well and created clean layers, so it ultimately comes down to personal preference.
Make Ahead and Storage Info
Make Ahead: The panna cotta can be made in stages up to 2 days in advance if you are short on time. The strawberry purée layer can be made and set the day before, and the coconut panna cotta can be cooked and poured over it the next day. Allow it to chill and then top with blueberries before serving.
Refrigerator: Cover the dessert cups tightly with plastic wrap and refrigerate for up to 2 days. The texture will continue to firm slightly as it chills.
Freezer: I don’t recommend freezing this panna cotta, as it will lose its structure once thawed.
Recipe FAQs
Yes, you can substitute the heavy cream with the same amount of coconut milk and replace the gelatin with agar, a seaweed-derived gelling agent. For information on cooking with agar when making panna cotta, please visit this resource.
Yes, traditional panna cotta is naturally gluten-free because it uses cream, sugar, gelatin, and flavorings without the need for any flour or starches. This coconut panna cotta recipe is also naturally gluten-free.
I wouldn’t recommend freezing panna cotta. As it thaws, its texture will change and won’t have the same structure. For best results, store it covered with plastic wrap in the refrigerator and enjoy within 2 days.
Yes, this make-ahead dessert can be prepared up to 2 days in advance. If preferred, you can prepare the strawberry purée layer the day before to allow it time to fully set, then finish the coconut panna cotta layer the next day. Wait to add the fresh blueberries until just before serving for the best texture and presentation.
One standard packet of powdered gelatin is usually equal to about 2½ teaspoons.
Delicious Starts Here
If you make this recipe, I’d love to hear how it turned out. Please leave a rating and a comment below; your feedback helps other home cooks decide if this recipe is right for them. And if you share it on Instagram, tag me @aspicedlifeblog so I can see your beautiful creations.🧡
Coconut Panna Cotta with Berry Layers
Ingredients
- 1 pound (454g) fresh strawberries hulled
- 1 cup (198g) granulated sugar divided
- Pinch of salt
- 3 ½ teaspoons (10g) unflavored gelatin powder
- 1 cup (227ml) heavy cream
- 1 can (400ml) full-fat coconut milk unsweetened
- 6 ounces fresh blueberries
Instructions
Make the purée:
- Place strawberries, ½ cup sugar, and a pinch of salt into a blender or food processor and blend until smooth.
- Pour the purée into a small saucepan and sprinkle with 1 teaspoon gelatin powder. Let the mixture sit undisturbed for 10-15 minutes to hydrate; the surface of the purée will form a skin and appear wrinkled (this is normal).
- Over medium heat, stir the mixture until the gelatin dissolves. Scrape down the sides and bottom of the saucepan with a soft silicone spatula so the purée doesn’t start to congeal. Cook the mixture (stirring constantly) until it begins to foam (about 5 minutes).
- Remove the saucepan from the heat, let it cool for 5 minutes, then pour the purée evenly into each of the 4 heatproof glasses. Place them in the refrigerator for 1 hour to set.
Make the panna cotta:
- Meanwhile, in a larger saucepan, add the heavy cream and sprinkle the remaining 2 ½ teaspoons of gelatin evenly over the surface. Let the gelatin sit undisturbed for 10 minutes to hydrate. It will start to wrinkle, which is normal.
- Place the saucepan over medium-high heat and stir until the gelatin fully dissolves and the mixture is smooth (about 2 minutes).
- Add the coconut milk and remaining sugar, then continue stirring until the sugar dissolves, about 2-3 minutes.
- Pour the cream through a fine mesh sieve into a measuring cup or container with a pourable spout to remove any clumps.
- Cover the panna cotta mixture and refrigerate until slightly cooled while the strawberry layer finishes setting.
- Carefully spoon 3-4 tablespoons of the panna cotta cream over the strawberry layer to create a buffer and prevent the layers from blending together. Slowly pour the remaining panna cotta cream into each glass, dividing evenly.
- Cover the glasses with plastic wrap and refrigerate for 3 hours to allow the panna cotta to fully set.
- Once the panna cotta has set, place the blueberries on top and serve.
Notes:
Nutrition
If you make this Coconut Panna Cotta with Berry Layers, I’d love to hear how it turned out for you! This is one of those desserts that looks elegant but is surprisingly simple once the layers come together.
For more summer dessert ideas, be sure to check out my Layered Strawberry Mousse, Caramelized Air Fryer Peaches with Cinnamon Butter or my Lemon Raspberry Loaf; perfect for easy summer entertaining.



I think this is a fantastic summer dessert. Light, subtle coconut taste and delicious berry layers
I went berry picking over the weekend and ended up with soooo many blueberries. This was the perfect recipe to use some of them up! So delicious and with your tips, so easy to create those beautiful layers.
Thank you, Courtney! Fresh-picked blueberries sound perfect for this recipe! I’m so glad the tips helped you create those pretty layers, and I hope you enjoyed every bite.
What a beautiful dessert! The combination of silky coconut panna cotta and vibrant berry layers looks both elegant and delicious. Definately making them tonight!
I hope you love it as much as it looks! The creamy coconut panna cotta and fresh berry layers are such a delicious combination. I’d love to hear how it turns out for you!
This was so beautiful and easy to make. I love them.
I’m so happy you found them easy to make. It’s one of my favorite desserts for entertaining, and I’m thrilled you loved it!
I love panna cotta and I will be having friends over for Canada day….so….this is going to be what I serve for dessert. It looks perfect!
I hope it was a wonderful Canada Day celebration for you and your friends! This panna cotta is one of my favorite make-ahead desserts for entertaining. I hope you and your guests loved it!
I love panna cotta and have ordered it in restaurants, but never made it at home. I was so excited to find this recipe! The coconut berry combination was incredibly good. Thanks for the lovely recipe!
I’m so glad this recipe gave you the confidence to make panna cotta at home. The coconut and berry layers are one of my favorite combinations, and I’m thrilled you enjoyed it!